Since sharing my interactive binder system for student organization, I’ve been getting DMs and emails asking more about it! I LOVE using interactive binders to keep my middle school students organized. Implementing this system has seriously cut down on lost student papers. Not to mention, binders have given me back time that used to be taken up by cutting and gluing in interactive notebooks. My current binder system is the result of several years of trial and error. I hope reading about it will help teachers (like you!) on their own journey to creating independent and organized students.
How do students set up the binders?
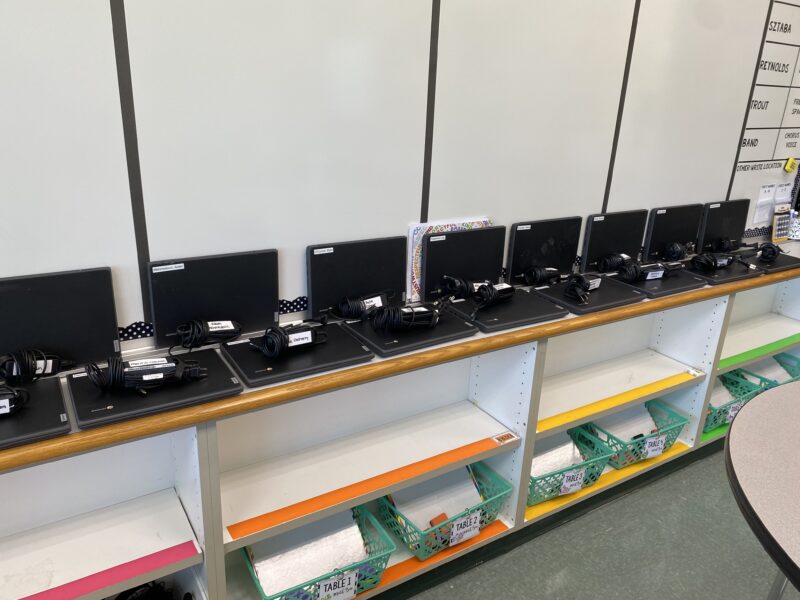
In my classroom, students store binders on a built-in shelving unit. Each class period has an assigned color and a shelf for their binders lined in coordinating duct tape. When setting up student binders, I have them place a piece of matching duct tape on the spine of their binder. This serves two purposes. First, it gives them a place to write their name. Second, color coding makes it easy for me to put away any stray binders. My last classroom did not have shelves, so we stored binders in milk crates. It worked, but the shelves are easier to keep tidy!

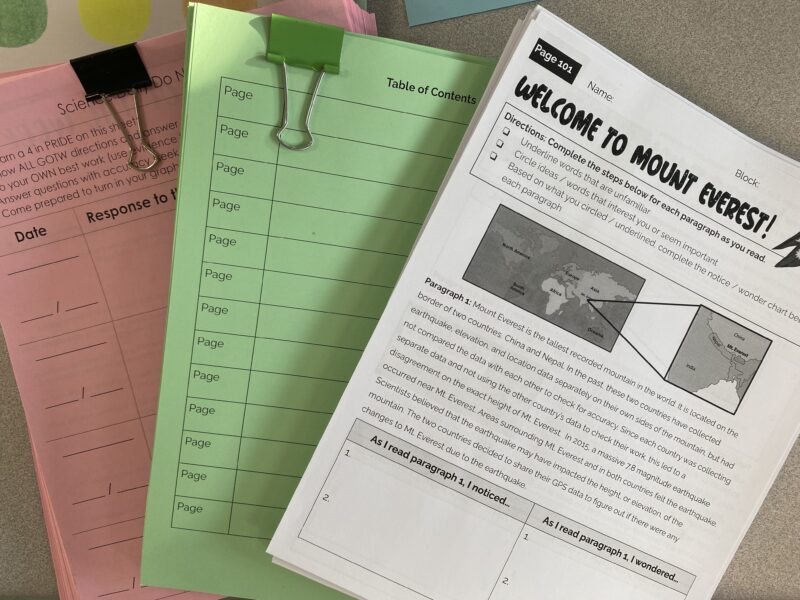
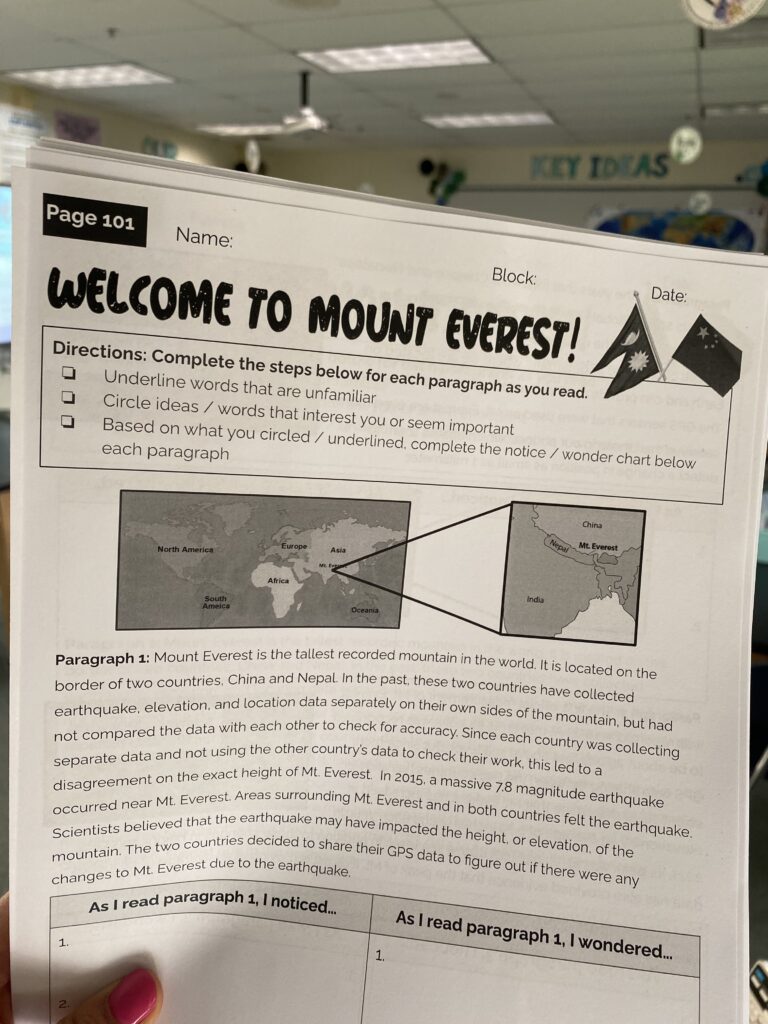
Inside the binders, students have a table of contents that should be their first page. In the system I used last year, each handout had a three-digit page number. The first digit was the number of the unit we were in, and the subsequent numbers were for the order of the pages (for example, in our second unit, the first three pages were 201, 202, and 203). Any pages that are not numbered handouts, like warm-up sheets or vocab trackers, are printed on a different-color sheet of paper. For example, all warm-up sheets are pink, and vocabulary trackers are in blue, which makes them easy for students to spot. I did not use tab dividers last year in an effort to simplify the process, but I plan to bring them back for the upcoming school year. I will keep the page numbers and colored paper, but have students separate non-numbered pages behind their own tab.

Are students able to take their binders home?
As you might have guessed from my duct tape system, binders live in the classroom! I find this seriously cuts down on the “I left it in my locker / at home / on the bus.” If students need to take their binders home to complete or revise an assignment, they understand that they are responsible for bringing it back the next day. Additionally, I train students on how to nondisruptively enter the room to borrow their binder for a study hall period, which further reduces the need to bring them home.
Do you grade the binders? How?
I actually don’t grade the binder as a whole! I do ask students to turn in specific pages for grades. On assessments, students must use the resources in their binder. An example might be “support your claim with data we collected on page 209,” or “include three words from your vocabulary tracker in your answer.” If their binders are not organized in a way that makes sense to them, they struggle to do this. For most students, this is the motivation they need to follow the suggested procedure for organizing their binder. However, one of my co-workers in eighth grade science does do binder checks for her students. She finds that they are more beneficial early in the year to build organizational skills. As the routines become habits, she does them less frequently.
Where do you get your student pages?
My coworkers and I design the layout for all the pages. The ones featured in the original interactive binder article are from a thermal energy unit that I no longer teach. The district I am currently in has adopted OpenSciEd as our middle school science curriculum. I love the concept of their sheets! My teaching partner and I collaborate to customize the organization and page layout to better meet the needs of our students, while preserving the integrity of the activity.

I hope the answers to these questions help you on your own journey through the land of student organization, no matter what strategies you’re implementing!

