This website may contain affiliate links and advertising so that we can provide recipes to you. Read my disclosure policy.
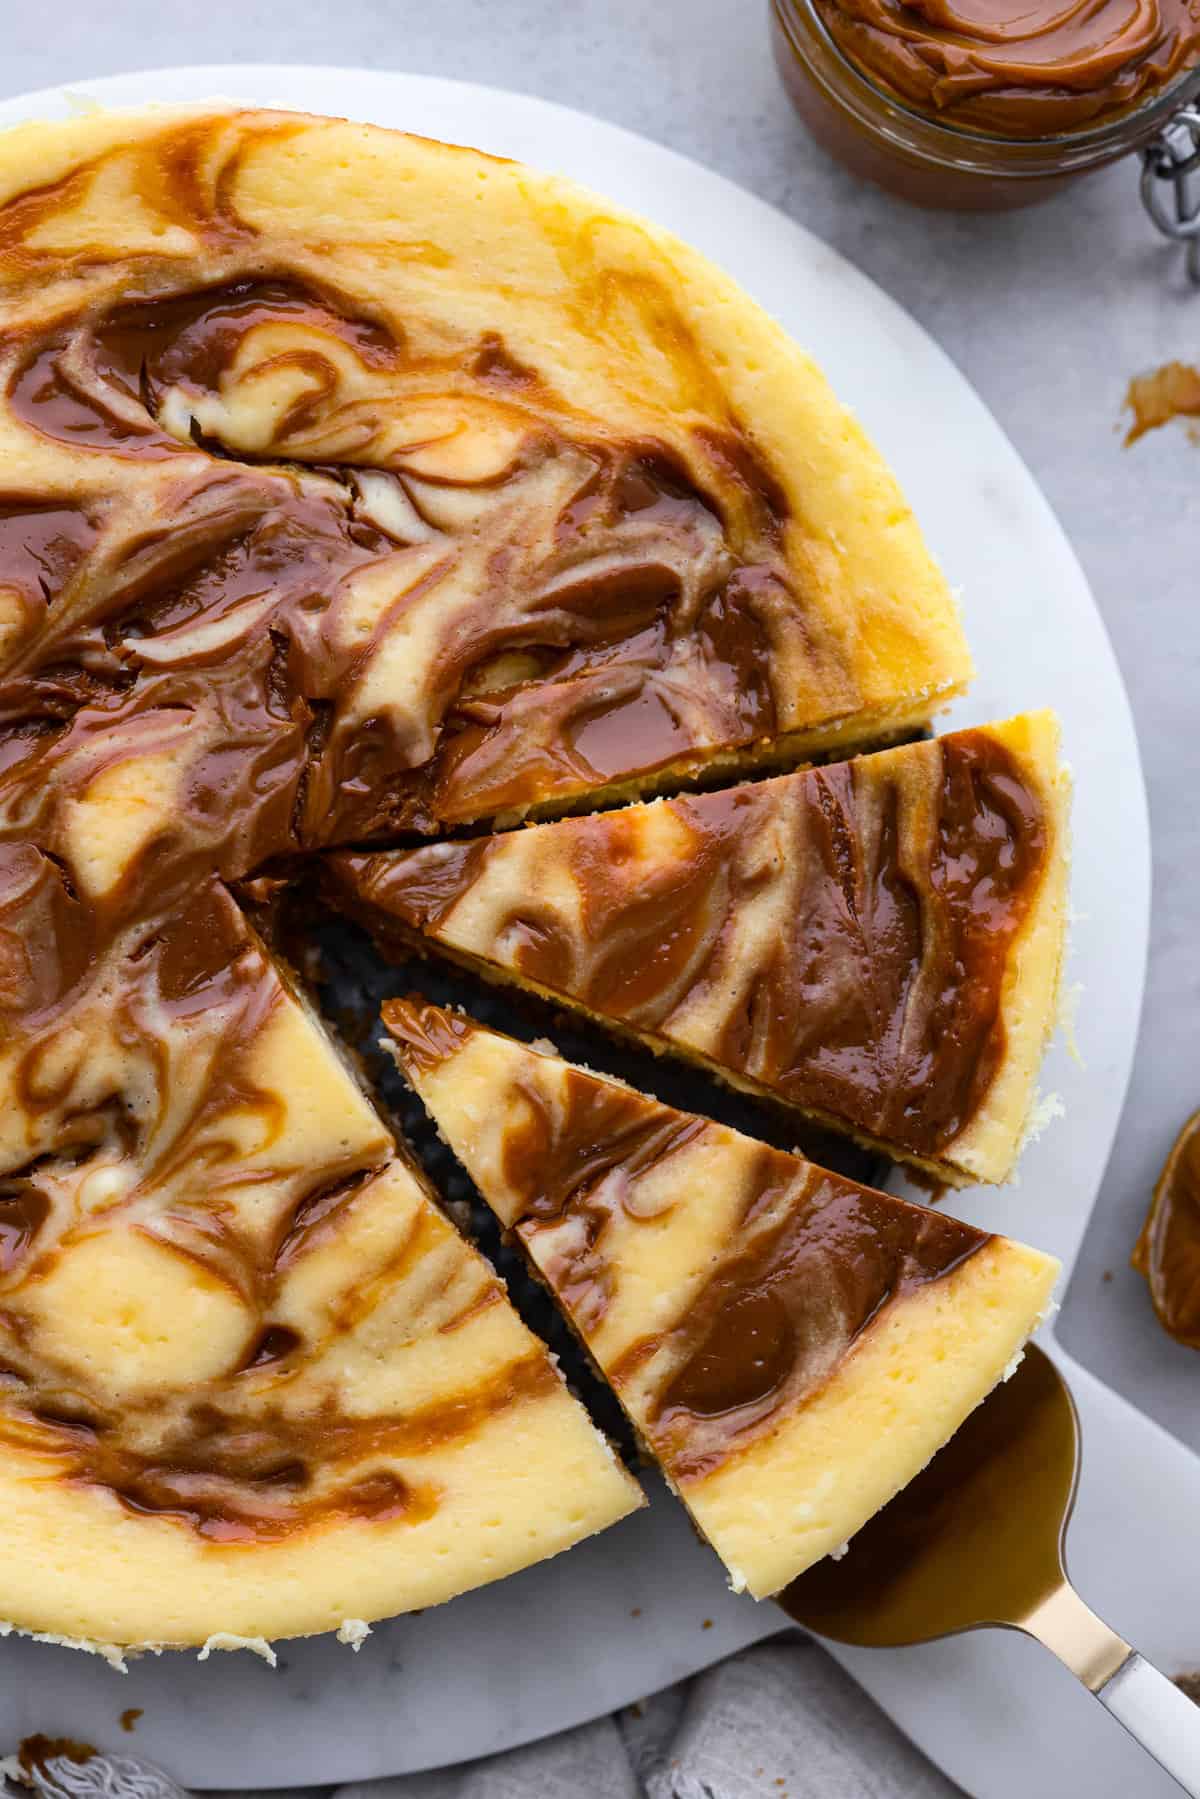
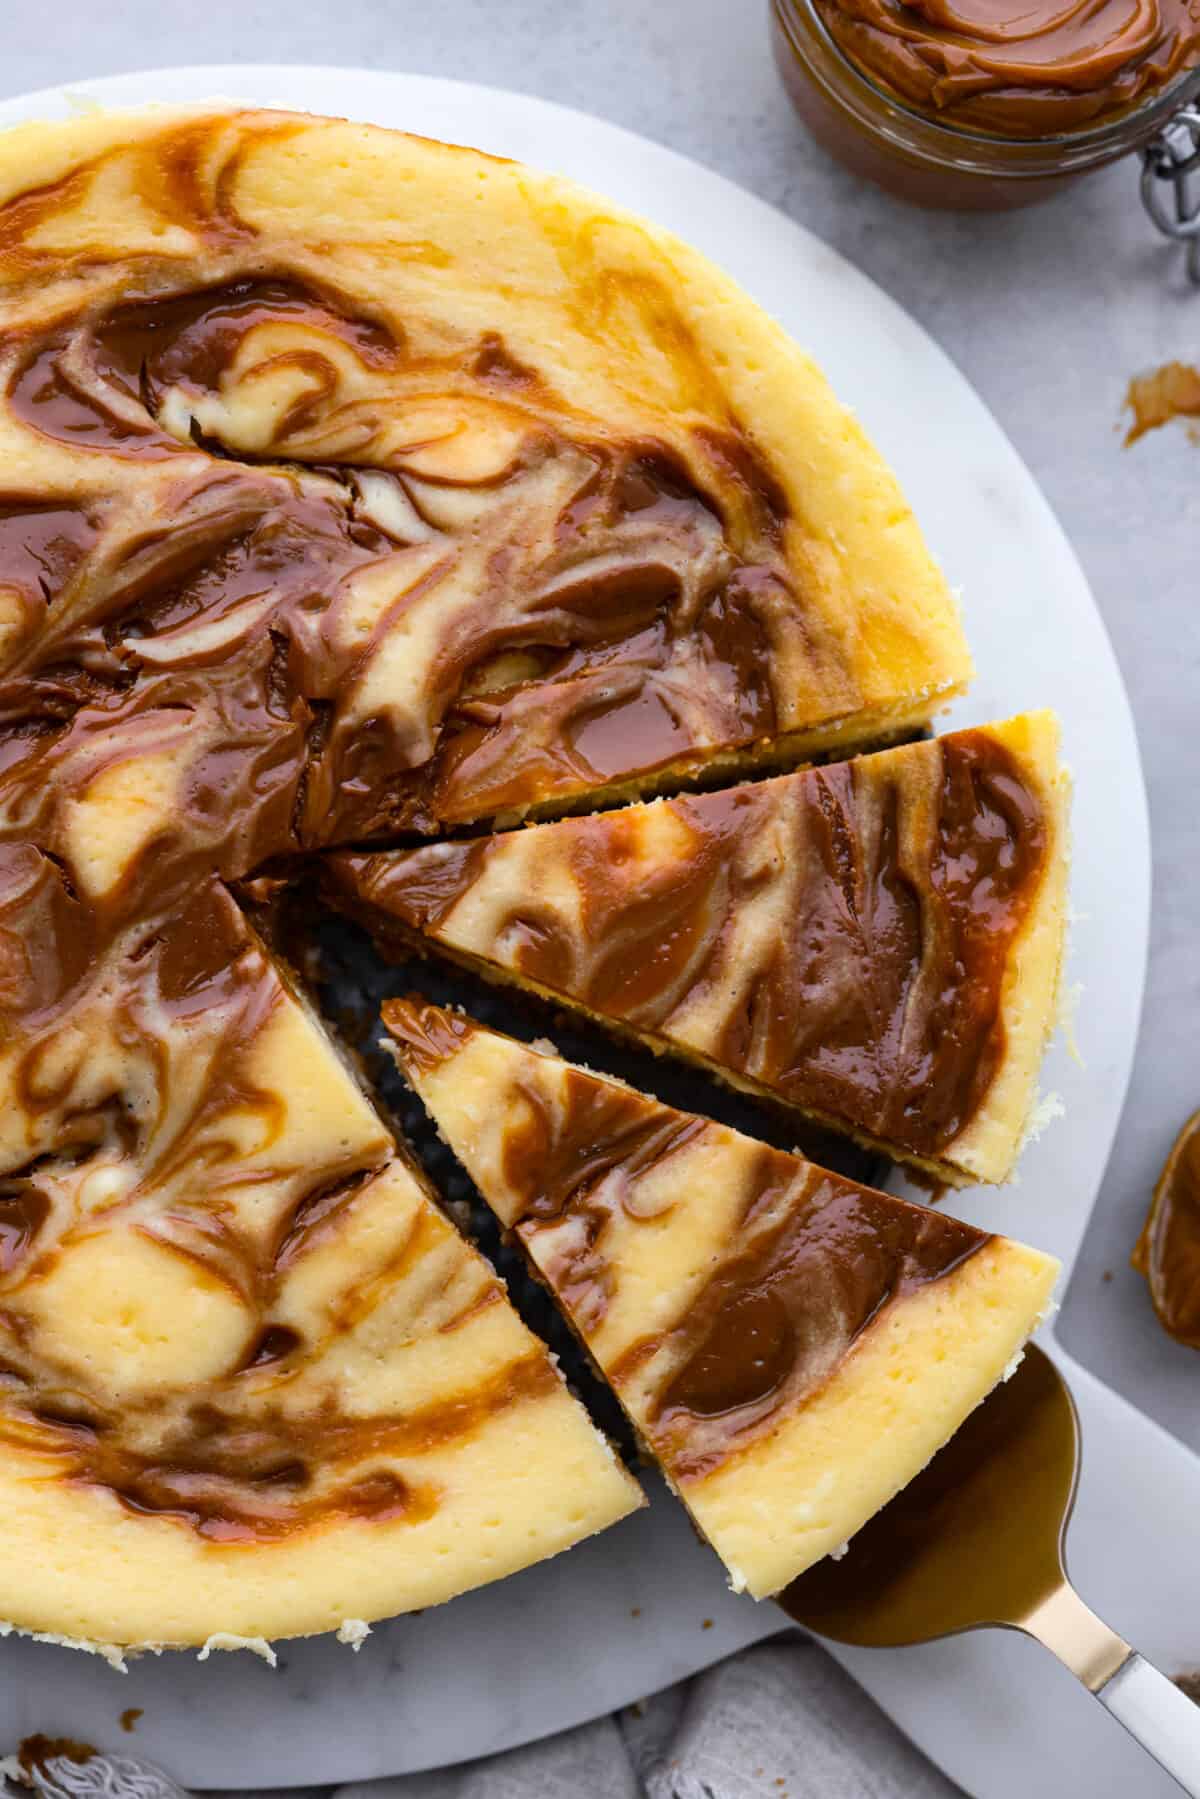
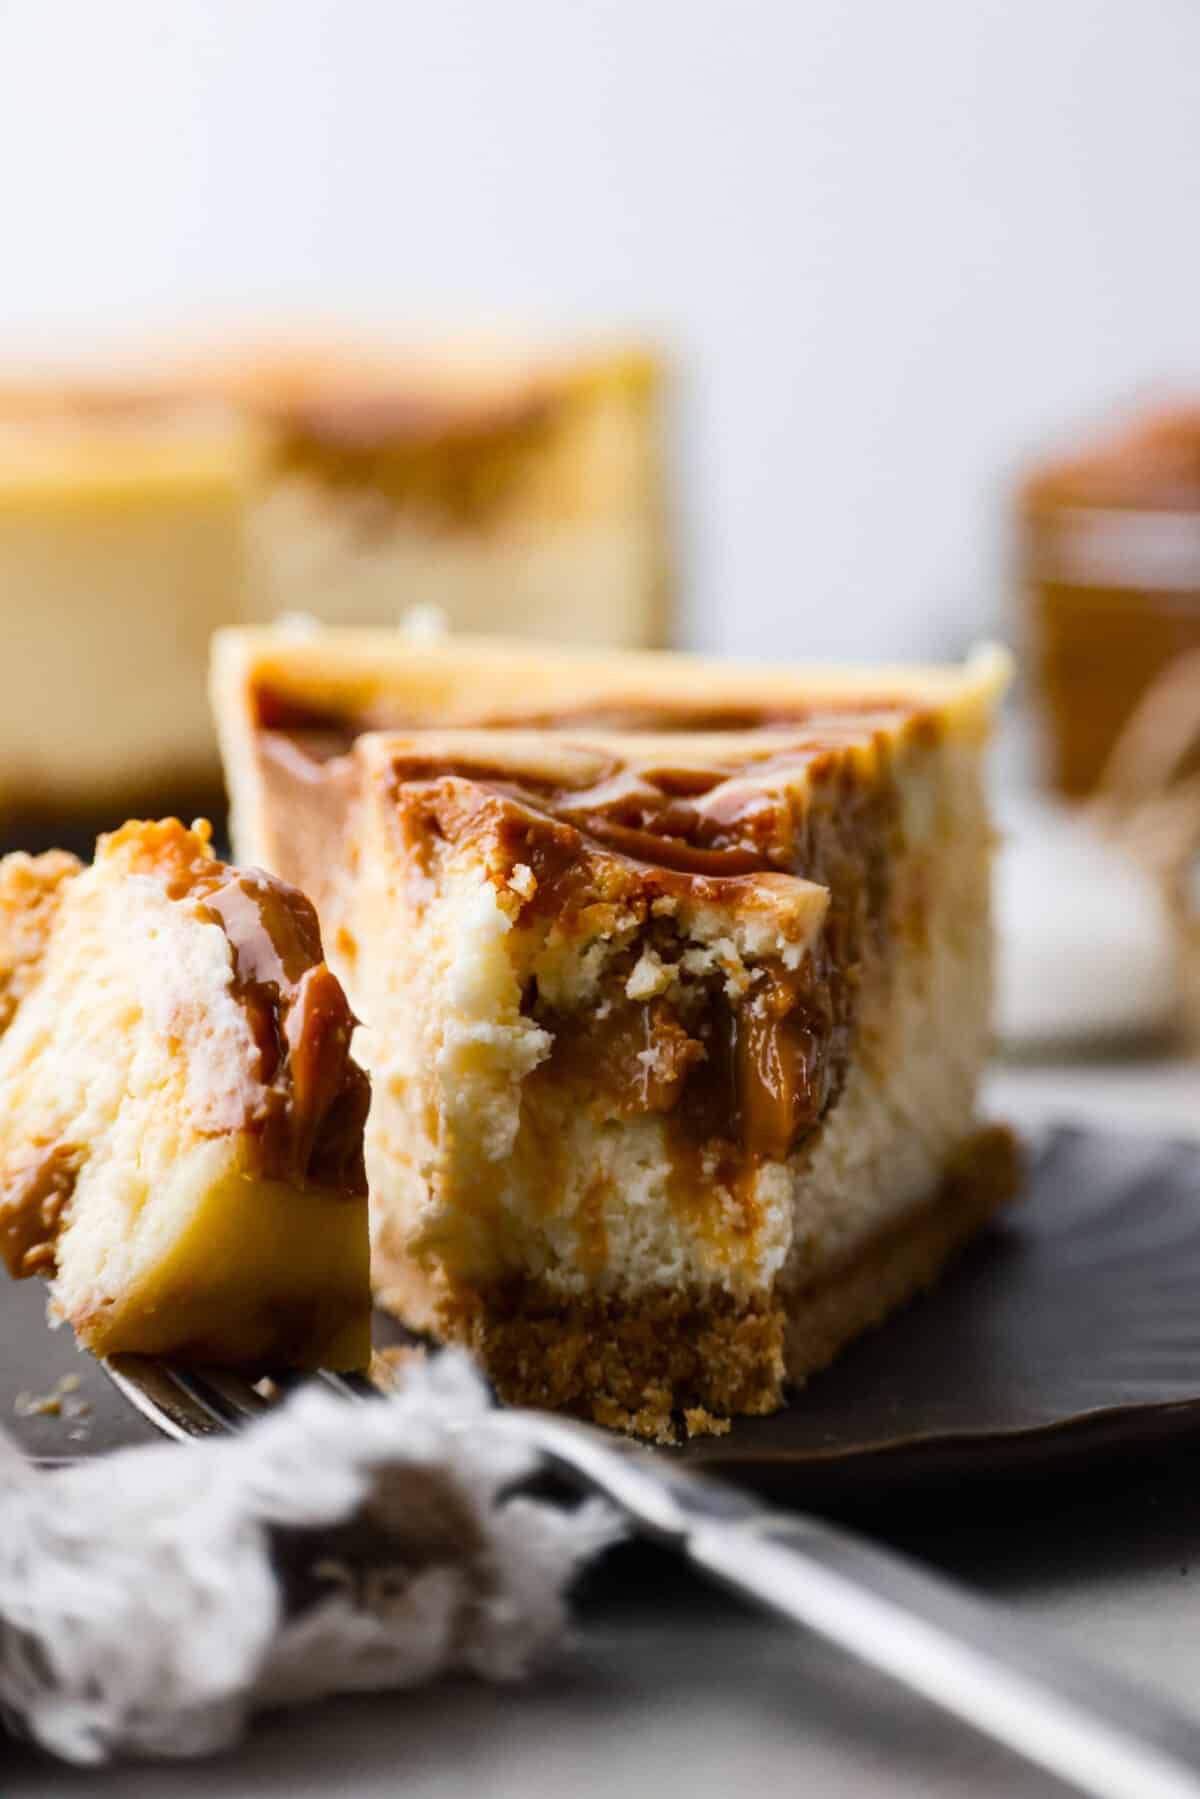
Dulce de leche cheesecake is the most creamy and decadent dessert, with swirls of caramel in every bite. It’s guaranteed to be the star of your dinner table!
I know making cheesecake from scratch can be intimidating, but once you nail it the first time you’ll want to make it again and again. Try these other tried and true cheesecake recipes next: Bailey’s cheesecake, Biscoff cheesecake, and classic New York cheesecake!
Dulce De Leche Cheesecake Recipe
Why it’s taken me so long to get this recipe on the blog, I’ll never know. This amazing dessert combines two of my favorite things- dulce de leche, and homemade cheesecake! If you love all things caramel and are looking for an amazing dessert to satisfy your sweet tooth with, you’re in the right place.
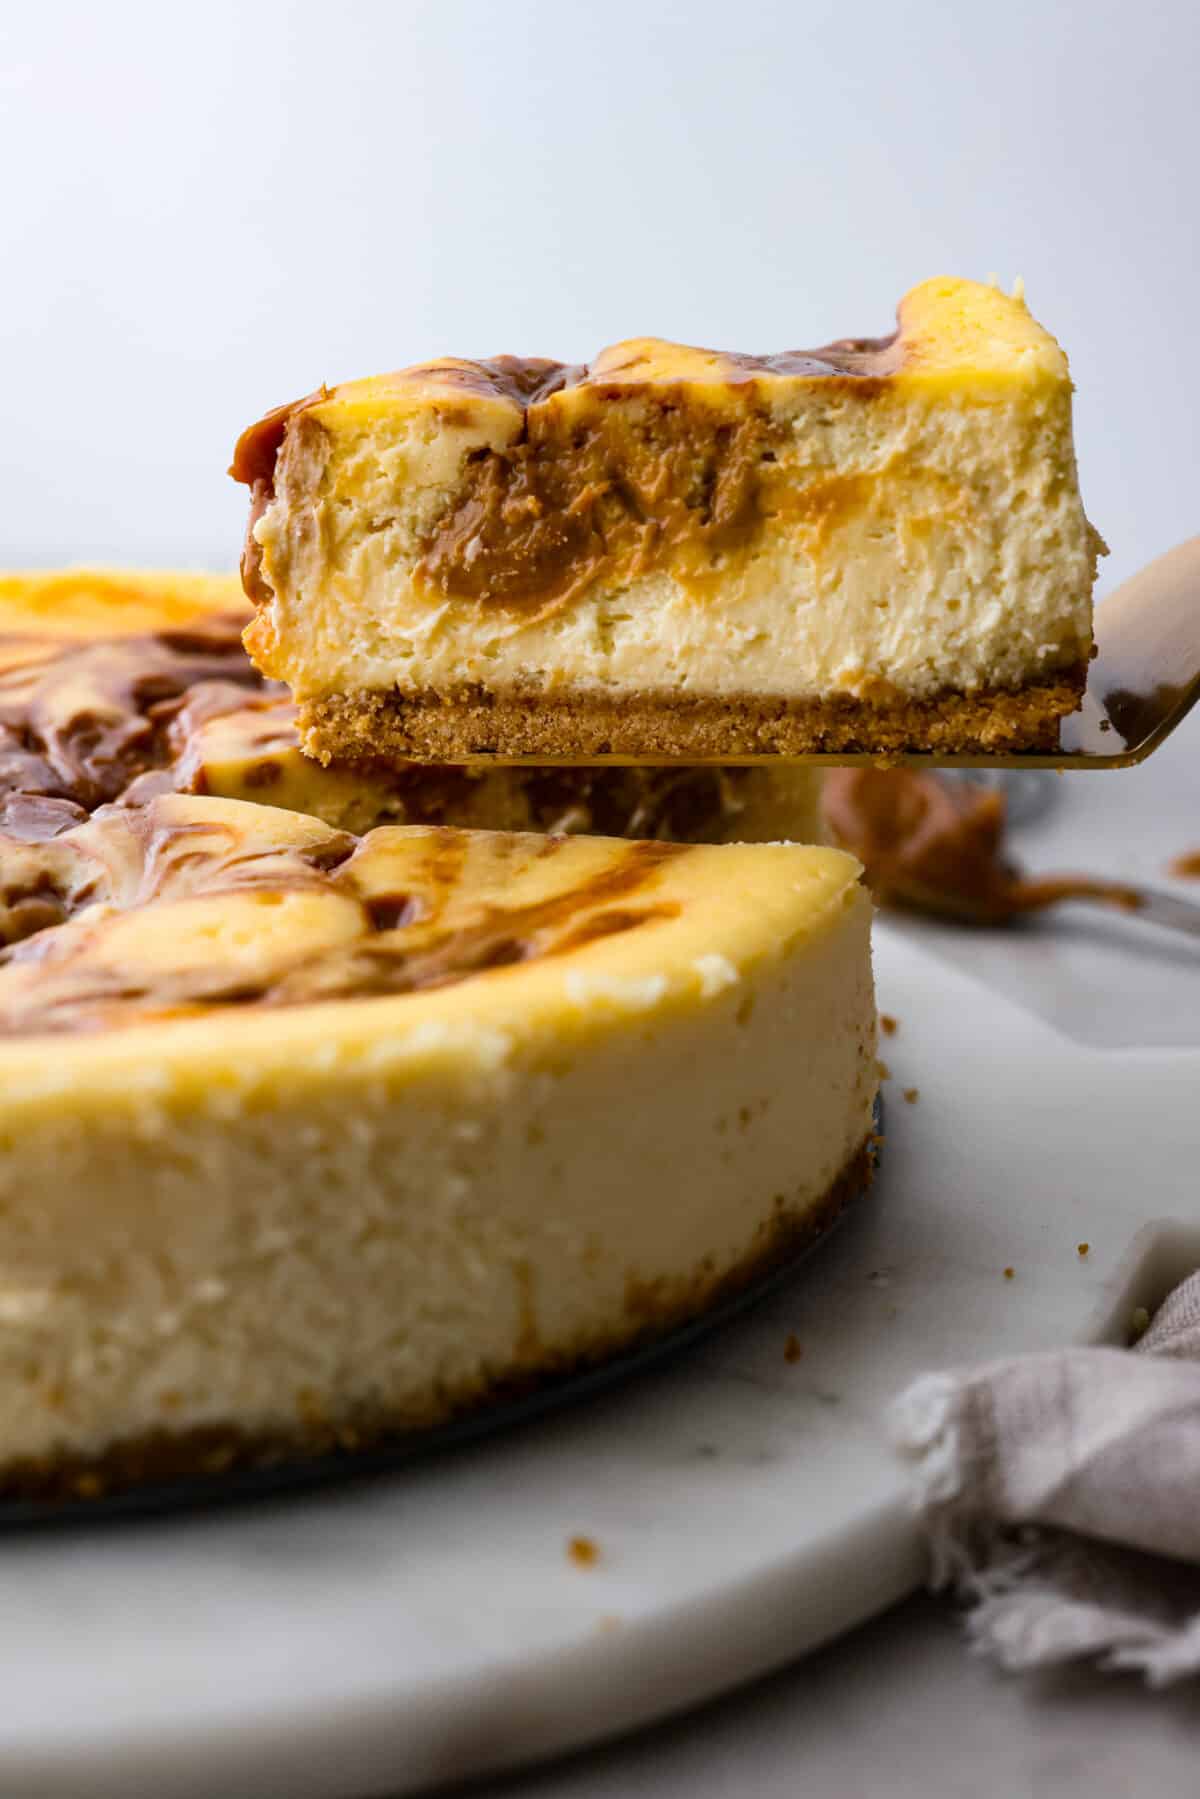
This recipe starts with a buttery graham cracker crust, topped with creamy vanilla cheesecake. What really makes this dessert special, though, is the dulce de leche that gets swirled in. This milky caramel sauce makes the cheesecake a dream.
Ingredient List
You don’t need a bunch of ingredients to put this Dulce de Leche cheesecake together. Just a few pantry staples and canned Dulce de Leche sauce! (Exact measurements are in the recipe card at the end of the post.)
Crust
- Graham Cracker Crumbs: The foundation of the crust. To switch things up, you could also use Nilla Wafer crumbs!
- Sugar: Sweetens up the crust.
- Melted Butter: Adds richness and helps to hold everything together. I used unsalted butter since we add salt separately.
- Pinch Salt: So the crust doesn’t taste bland.
Cheesecake Filling
- Cream Cheese: Room temperature so everything mixes together smoothly.
- Sour Cream: Makes the cheesecake filling extra tender.
- Granulated Sugar: So the filling is nice and sweet.
- Large Eggs: Again, at room temperature so you have a smooth cheesecake batter.
- Vanilla: Pure vanilla extract is best! It adds the best warm flavor to the cheesecake.
- Dulce De Leche: I used canned Dulce de Leche for easy prep! You can also use homemade Dulce de Leche if you’re up for the challenge, you’ll need about 1 ¼ cup.
More Caramel Flavor
For added caramel flavor, substitute all or part of the granulated sugar for brown sugar.
How to Make Dulce de Leche Cheesecake
I know it looks like a lot of steps, bear with me here! Making the perfect homemade cheesecake is a labor of love. And so worth it!
- Preheat Oven, Prepare Pan: Preheat oven to 325 degrees Fahrenheit. Prepare a 9 or 10-inch springform pan by spraying it well with pan spray. Then set aside.
Crust
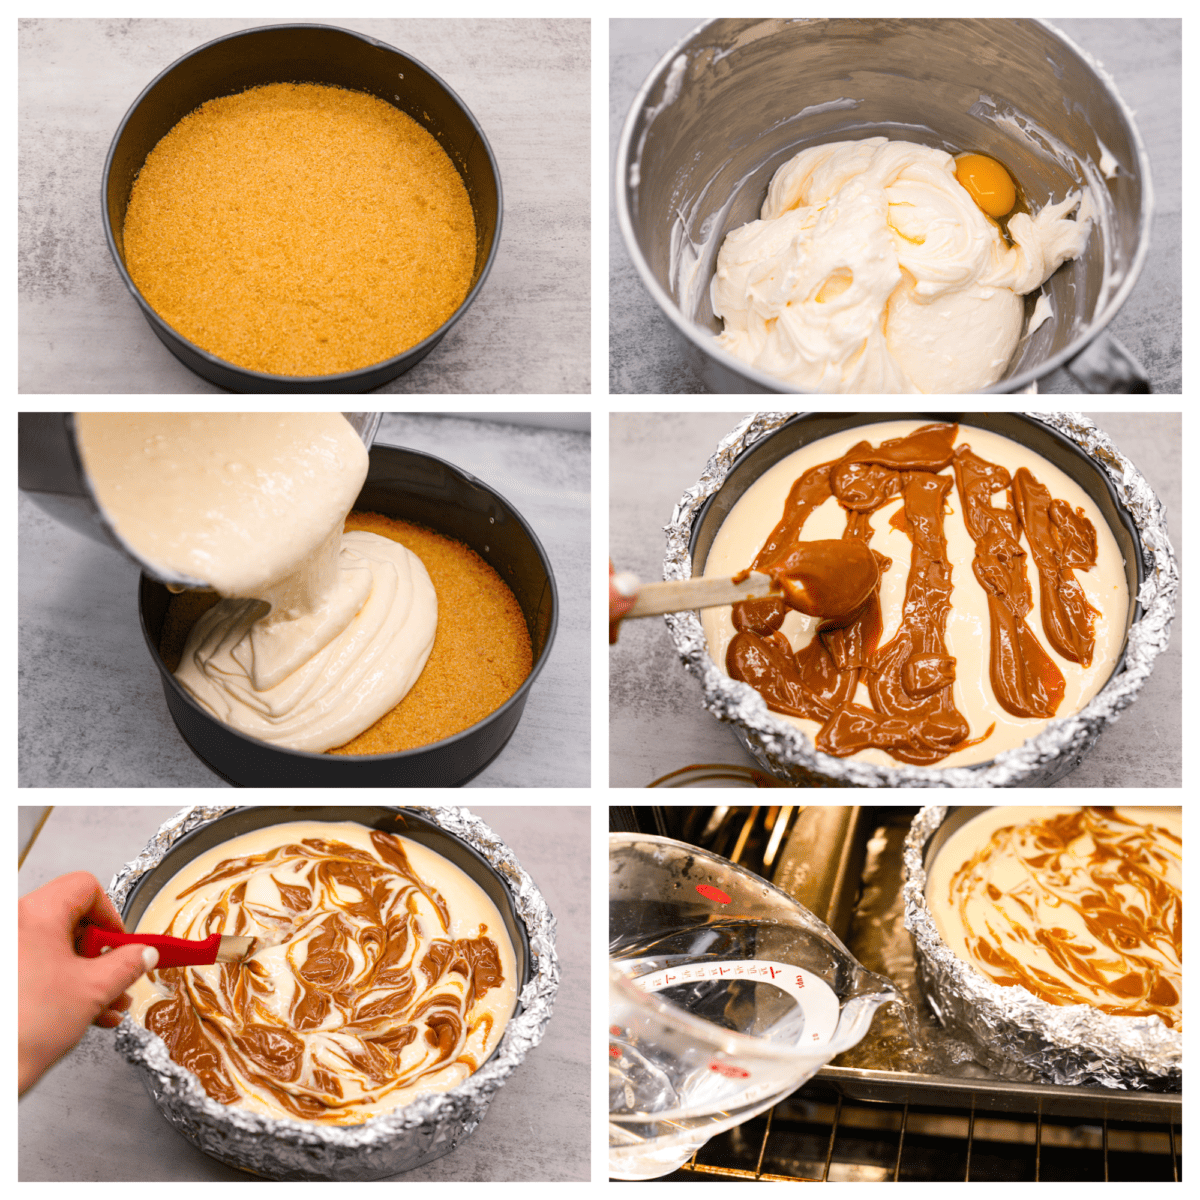
- Crust Mixture: Mix graham cracker crumbs, sugar, and melted butter together. This should resemble damp sand.
- Add to Pan: Add the crumb mixture into the prepared springform pan and press evenly into the bottom. You can use the bottom of a flat glass or a flat measuring cup to really press it in well and get a nice, even crust. You may alternatively press it into the bottom and then half way up the sides if that is the style of crust you prefer.
- Bake: Bake for 10 minutes. Set aside to cool completely.
Cheesecake Filling
- Beat Cream Cheese: Add the softened cream cheese to the mixing bowl of a stand mixer and beat with a paddle at medium/high speed for about 1 minute. Scrape down the sides and bottom of the bowl and beat for a few seconds more, until smooth.
- Mix In Sugar and Sour Cream: Add sugar and sour cream and beat at medium/low speed until just combined. Scrape the bowl again and mix 10 seconds.
- Add Eggs and Vanilla: Add eggs and vanilla and beat on low speed until combined, about 30 seconds-1 minute. Scrape the bowl again. At this point the batter should be smooth and fairly runny.
- Wrap With Foil: Prepare the springform pan by carfully wrapping the outside with 4 sheets of 18-inch heavy duty aluminum foil. You may use regular foil, but it may take a couple more sheets to ensure the water does not get into the pan.
- Put in Deep Pan: Place the wrapped pan in a deep roasting pan. You may alternatively use a baking sheet, so long as the sides are about 2 inches deep.
- Add Batter and Caramel Sauce: Add half of the cheesecake batter to the pan. Spoon about half of the warm dulce de leche over the top of the batter and swirl with a knife, being careful not to go too deep into the batter. You don’t want to hit the crust with the knife.
- Layer: Layer the rest of the cheesecake batter on top and swirl the remaining dulce de leche on top.
Baking
- Prepare Water Bath: Add very hot water to the baking pan until there is about 1 ½ inch of water around the springform pan. Carefully place the pan on a rack in the lower 3rd of the oven.
- Bake: Bake for 1-1 ½ hours. After about an hour of baking, check the cheesecake’s consistency. A slight jiggle of the pan (while still in the oven) should tell you if it’s ready or needs more time. The cheesecake should be jiggly, but not liquid. If it seems very liquidy still, give it 15 more minutes and check it again.
- Cool: Once the cheesecake is mostly firm, with just a slight wobble in the center, turn the oven off but leave the cheesecake in the oven for another hour or so, until the oven has cooled down. Resist the temptation to open the oven during this time! The purpose of this step is to allow the cheesecake to cool slowly as the oven cools. Doing this will prevent it from cracking, as one of the biggest reasons cheesecakes crack is the drastic temperature change going from the hot oven into the much cooler kitchen.
- Remove Foil: Once the oven and the dulce de leche cheesecake have cooled, remove from the oven and carefully remove the foil lining the pan.
- Chill: Chill in the fridge for at least 6 hours.
- Remove From Pan: Before serving, run a knife around the edge of the pan to ensure an easy release when the springform is removed.
Tips for Successful Dulce de Leche Cheesecake
A few extra tips to keep in mind so your dulce de leche cheesecake turns out wonderfully! Cheesecake really isn’t that difficult to make, but there are a few key things to remember so the flavor and texture are the best they can be.
- Don’t Overbeat: Remember, overbeating your batter invites unwanted air into the mix. This can cause the batter to rise uncontrollably or fall flat during baking.
- Grease Your Spring Form Pan: Even if your trusty springform pan has a non-stick surface, don’t be tempted to skip greasing it. Think of it as giving your cheesecake an extra layer of insurance for a smooth and effortless release. You don’t want all that hard work to end up falling apart!
- No Peeking: After all the effort you’ve put into creating the perfect water bath for your cheesecake, it’s crucial to let it work its magic. So don’t peek! Every time you open the oven door, you release that precious steam and risk exposing your delicate cheesecake to sudden temperature changes. This can cause it to crack.
- Let it Cool: You will know your cheesecake is done when there is a slight wobble to the center. Don’t stick a knife or a thermometer inside it. It will cause it to crack. Once it’s done, turn off the oven and let it come to room temperature inside the oven. This takes about an hour. Patience is key!
- Adjust Dulce De Leche Consistency: You may thin your dulce de leche down by adding a tablespoon or two of cream before you warm it. Once it has been heated, stir until it’s smooth. If it’s not thinned, it’s best to spoon it over the cheesecake batter so it doesn’t go on in giant blobs and sink to the bottom.
Storing Leftovers
Store leftover dulce de leche cheesecake in an airtight container or covered in plastic wrap the fridge for up to 5 days.
Can I Freeze Dulce de Leche Cheesecake?
Yes! Once baked and cooled, leave the cheesecake in the fridge until completely chilled. Place the cheesecake on a parchment-lined baking sheet and freeze for 4-6 hours, or until solid. Double or triple-wrap the whole cheesecake with plastic wrap for more protection, followed by a layer of aluminum foil. Freeze for up to 3 months and then thaw overnight in the fridge when you’re ready to enjoy it again.
Try These Other Cheesecake Recipes Next:
Pin this now to find it later
Crust
-
Mix graham cracker crumbs, sugar, and melted butter together. This should resemble damp sand.
-
Add the crumb mixture into the prepared springform pan and press evenly into the bottom. You can use the bottom of a flat glass or a flat measuring cup to really press it in well and get a nice, even crust. You may alternatively press it into the bottom and then half way up the sides if that is the style of crust you prefer.
-
Bake for 10 minutes. Set aside to cool completely.
Cheesecake Filling
-
Add the softened cream cheese to the mixing bowl of a stand mixer and beat with a paddle at medium/high speed for about 1 minute. Scrape down the sides and bottom of the bowl and beat for a few seconds more, until smooth.
-
Add sugar and sour cream and beat at medium/low speed until just combined. Scrape the bowl again and mix 10 seconds.
-
Add eggs and vanilla and beat on low speed until combined, about 30 seconds-1 minute. Scrape the bowl again. At this point the batter should be smooth and fairly runny.
-
Prepare the springform pan by carfully wrapping the outside with 4 sheets of 18-inch heavy duty aluminum foil. You may use regular foil, but it may take a couple more sheets to ensure the water does not get into the pan.
-
Place the wrapped pan in a deep roasting pan. You may alternatively use a baking sheet, so long as the sides are about 2 inches deep.
-
Add half of the cheesecake batter to the pan. Spoon about half of the warm dulce de leche over the top of the batter and swirl with a knife, being careful not to go too deep into the batter. You don’t want to hit the crust with the knife.
-
Layer the rest of the cheesecake batter on top and swirl the remaining dulce de leche on top.
Baking
-
Add very hot water to the baking pan until there is about 1 ½ inch of water around the springform pan. Carefully place the pan on a rack in the lower 3rd of the oven.
-
Bake for 1-1 ½ hours. After about an hour of baking, check the cheesecake’s consistency. A slight jiggle of the pan (while still in the oven) should tell you if it’s ready or needs more time. The cheesecake should be jiggly, but not liquid. If it seems very liquidy still, give it 15 more minutes and check it again.
-
Once the cheesecake is mostly firm, with just a slight wobble in the center, turn the oven off but leave the cheesecake in the oven for another hour or so, until the oven has cooled down. Resist the temptation to open the oven during this time! The purpose of this step is to allow the cheesecake to cool slowly as the oven cools. Doing this will prevent it from cracking, as one of the biggest reasons cheesecakes crack is the drastic temperature change going from the hot oven into the much cooler kitchen.
-
Once the oven and the cheesecake have cooled, remove from the oven and carefully remove the foil lining the pan.
-
Chill in the fridge for at least 6 hours.
-
Before serving, run a knife around the edge of the pan to ensure an easy release when the springform is removed.
Calories: 524kcalCarbohydrates: 42gProtein: 8gFat: 36gSaturated Fat: 20gPolyunsaturated Fat: 2gMonounsaturated Fat: 10gTrans Fat: 0.2gCholesterol: 166mgSodium: 369mgPotassium: 171mgFiber: 0.4gSugar: 35gVitamin A: 1350IUVitamin C: 0.2mgCalcium: 113mgIron: 1mg
Nutrition information is automatically calculated, so should only be used as an approximation.

