*This post is sponsored by SPLENDA. The opinions and information presented here are all ours.
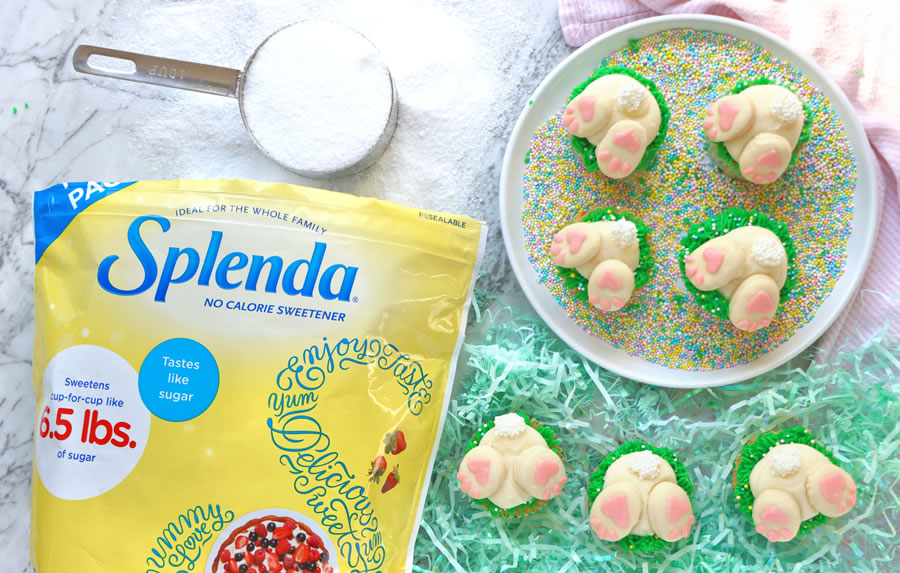
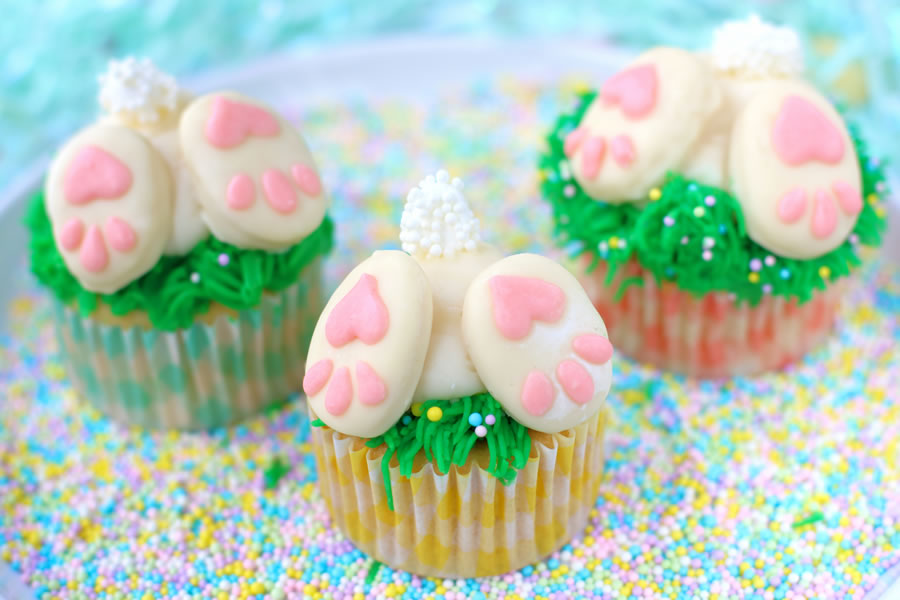
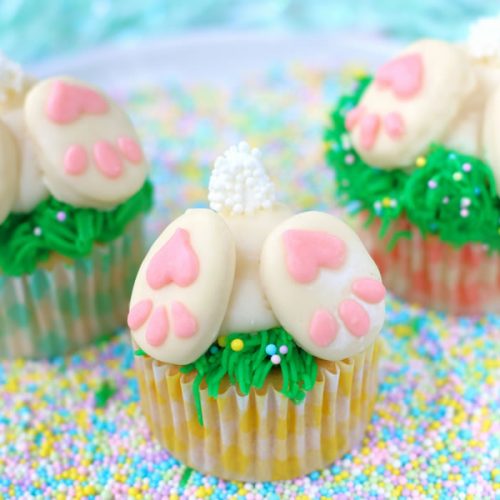
If you’re looking for a fun and whimsical treat to make this Easter or in celebration of spring, then these Low Sugar Bunny Butt Cupcakes are perfect! In this post, we’re showing you how we built these adorable bunny butt cupcakes so you can recreate them in your own kitchen. Plus, you don’t have to feel guilty eating these cupcakes because they’re made without all the extra sugar found in typical cupcake recipes!
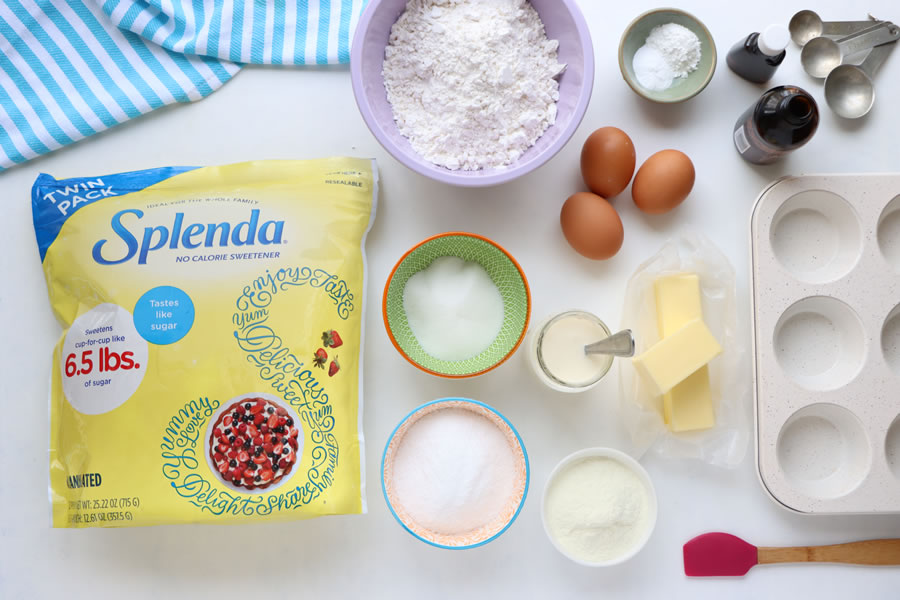
To keep these cupcakes low in sugar (and lower in calories) we used the granulated version of SPLENDA® No Calorie Sweetener, which is a wonderfully sweet yet sugar-free substitute made specifically for baking. Granulated SPLENDA not only tastes just like sugar but measures cup for cup like real sugar. It can be used almost anywhere sugar is used and stays sweet at high temperatures, so it’s great for reducing the calorie and carbohydrate count in all your favorite sweet recipes.
💡 Healthy Tip: Using SPLENDA granulated instead of real sugar can save you 678 calories per cup in your recipes. That’s a lot of calories!
These are the four different components you’ll need to make these Low-Sugar Bunny Butt Cupcakes:
- The Cupcakes
- The No-Sugar Sugar Cookie Bunny Feet
- The Bunny Tails (mini-marshmallows, white sprinkles)
- Buttercream Icing For The Grass & Bunny Body (white & green)
Time Needed To Make These Cupcakes:
Plan for about 4 hours of total working time including baking, cooling and decorating. The cookie bunny, bunny tails, and decorating icing can be made the night before.
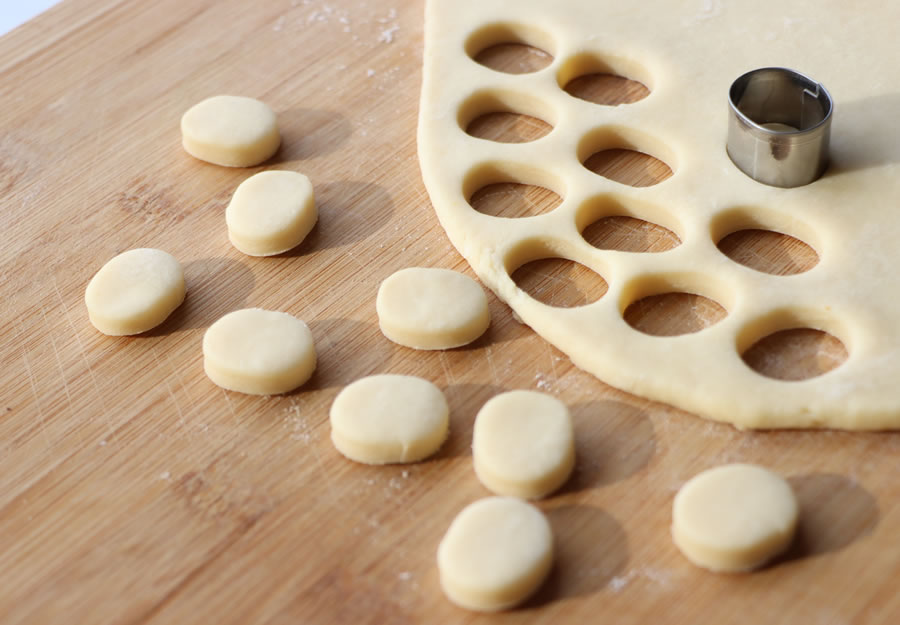
STEP 1: MAKING THE BUNNY FEET COOKIE PIECES
- To make the bunny feet for these cupcakes we started by baking up this No-Sugar Sugar Cookies Recipe. Roll out the dough to about ⅛ inch thick then use a small oval-shaped cookie cutter (1-1/4 inch) to cut out the feet.
- Bake for about 10 – 12 minutes making sure they stay blonde. We don’t want any browning that may show through after dipping them in the white chocolate. Allow them to cool completely.
- Then dip the bunny feet in melted white chocolate thinned with a little coconut oil. Melt the white chocolate in the microwave at 30-second intervals stirring well in-between. It can easily burn and melts quickly. When dipping it’s more important to give the top sides of the bunny feet that’s going to be showing a smooth finish. Don’t worry about the backs as they won’t be seen. You can use a chocolate dipping tool or even a fork and then transfer the white chocolate dipped feet to a baking tray lined with wax or parchment paper. Allow the chocolate to harden before adding the pink bunny feet details. For 18 cupcakes you’ll need 36 bunny feet total.
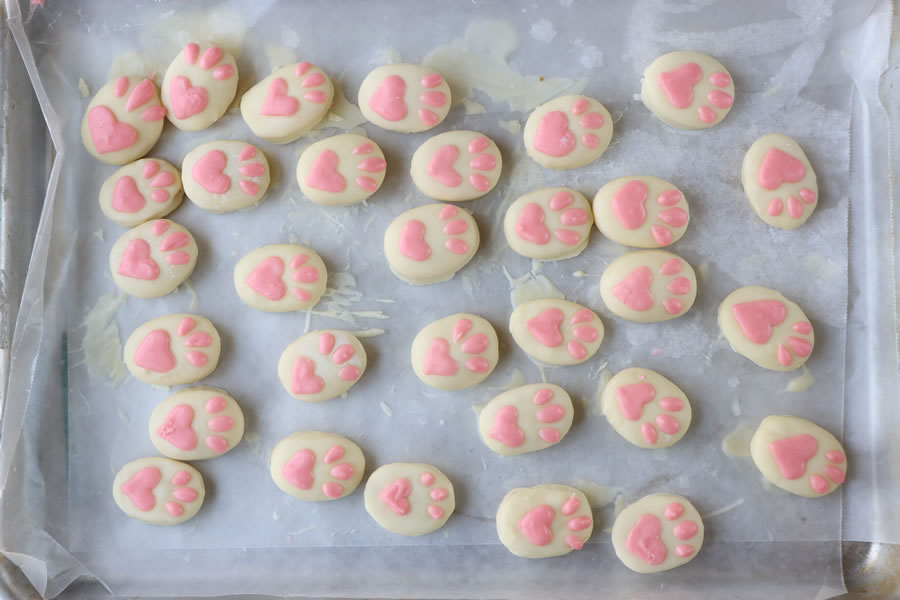
- For the bunny feet, details melt a little more white chocolate and then add a few drops of pink food coloring. Stir until you don’t see any streaks of white chocolate left. Place in a small squeeze bottle or a piping bag with a small round tip. Pipe 3 or 4 dots for bunny toes (they have four in real life but are often depicted with three) and a heart for the main pad. Set aside and allow to thoroughly dry before assembling the cupcakes.
💡 Chocolate Tip: An alternative to using white chocolate is candy melts. You can order them online from places like Amazon or Michael’s. They come in many different colors so feel free to get creative with your bunny feet design. For brown bunnies use milk or dark chocolate instead.
STEP 2: MAKE THE BUNNY TAILS
To make the bunny tails we cut mini marshmallows in half. Then using a toothpick dipped them in warm water and into a small bowl of white nonpareil sprinkles. Lay them on wax or parchment paper to dry.
Tip: Alternatively, you can also dip the marshmallow “tails” into melted white chocolate and coat them in shredded coconut for a furry look.
STEP 3: NOW BAKE UP THE LOW-SUGAR CUPCAKES
To keep our cupcakes low in sugar we used this Golden Yellow Cupcake recipe made with SPLENDA. They’re super yummy and you definitely won’t miss all the sugar. Let them cool completely before decorating with icing.
STEP 4: ADDING THE GRASS AND THE BUNNY BUTT
If you need a sugar-free icing recipe you can search SPLENDA recipes linked here. We used a white buttercream icing, but you can also make a brown bunny version with chocolate icing and milk paired with dark or milk chocolate-dipped bunny feet.
PIPING THE GREEN ICING: Spoon half your favorite buttercream icing recipe tinted half with a few drops of green food coloring into a piping bag fitted with a grass cake decorating tip (use Wilton #233, #234 or #29). Continue piping the grass around the edge of the cupcake leaving the middle third area empty. This is where the bunny’s body will sit.
If you haven’t tried the grass tip before, it’s lots of fun but may require you to practice a few strokes. As you’re applying pressure to release the icing on the cupcake, pipe about ¼ inch and then release the pressure just before you’re about to pull away. Holding the piping bag straight up will give you neat grass while tilting the bag can give you the look of longer shaggier grass. Both looks are adorable!
💡 Sprinkle Tip: If you want the look of tiny little flowers in the icing grass like you normally see at the beginning of spring, sprinkle a few colorful sprinkles just after piping the grass.
PIPING THE BUNNY BUTT: Using white icing pipe placed in a piping bag, pipe in a round area for the body. You don’t need a tip for this and can simply snip off the bottom of a piping bag about ½ inch wide. If you feel more comfortable using a decorating tip, then a wide round tip is what you need.

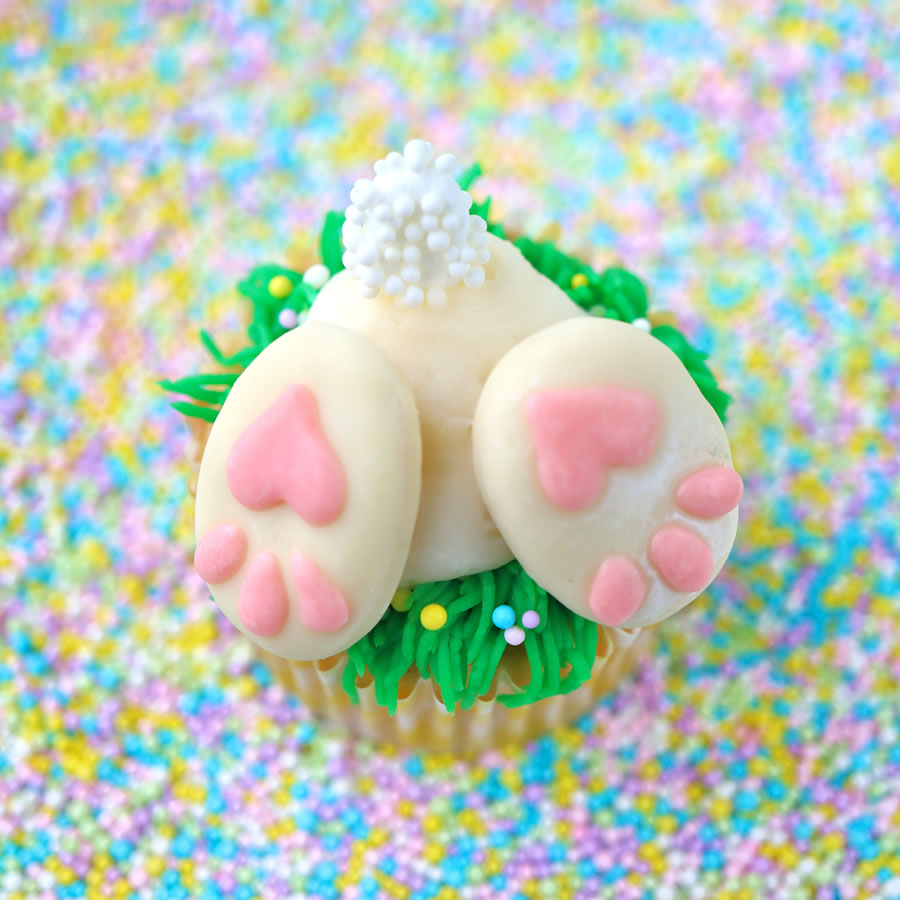
COMPLETING THE BUNNY BUTT CUPCAKES
To finish the “bunny butts” on the cupcakes add two cookie feet (remember they should be upside down) gently pressing into the icing to secure them. To complete the cupcakes top them with a marshmallow bunny tail for the ultimate in cupcake cuteness!
GET THE RECIPES WE USED!
Lower Sugar Yellow Cupcakes
Try these cupcakes next time you want a lower sugar version. Perfect for decorating we used these to make our Bunny Butt Cupcakes.
Ingredients
- 2 1/4 cups cake flour
- 3/4 cup SPLENDA® No Calorie Sweetener Granulated
- 1/4 cup sugar
- 3/4 cup softened unsalted butter
- 1/2 cup nonfat dry milk
- 2 teaspoons baking powder
- 3/4 teaspoon baking soda
- 1/4 teaspoon salt
- 3/4 cup buttermilk
- 3 eggs
- 2 teaspoons vanilla extract
- 1/2 teaspoon almond extract
DIRECTIONS
-
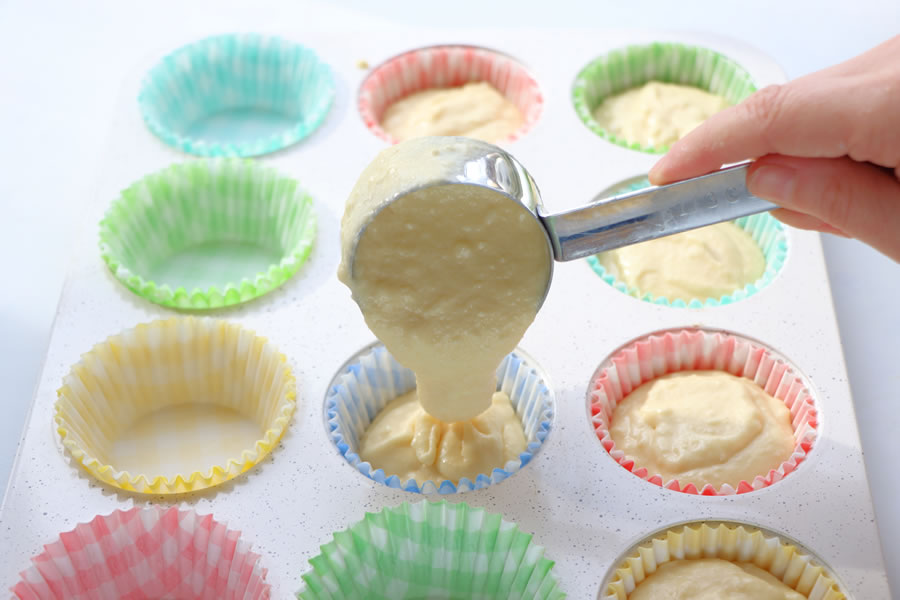
Preheat oven to 350 degrees F. Place 18 paper baking cups into muffin pans. Set aside.
-
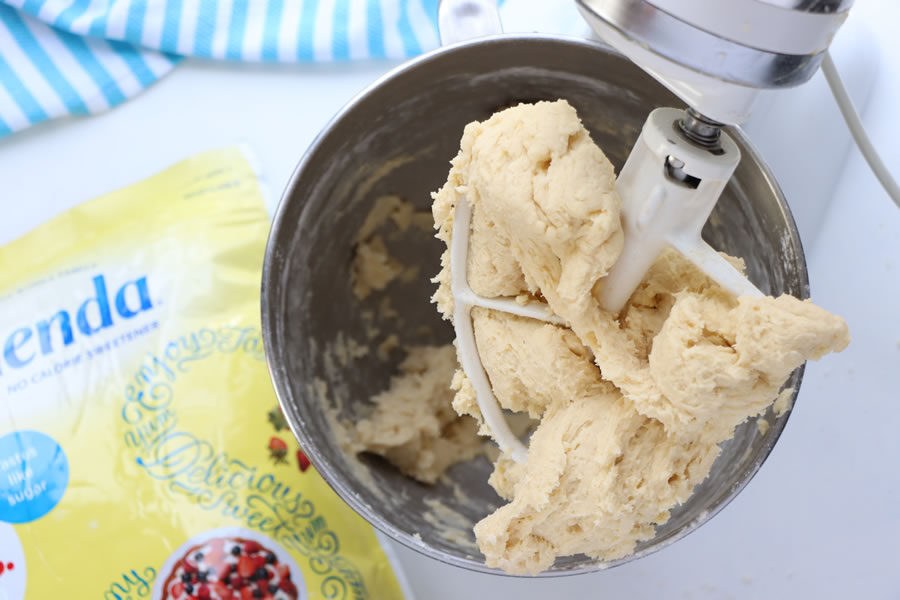
Add cake flour, SPLENDA® Granulated Sweetener, sugar and softened unsalted butter in the bowl of an electric mixer and mix 2 minutes on medium speed, or until butter is well incorporated into the flour.
-
Next add the nonfat dry milk, baking powder, baking soda, and salt. Mix on low until blended.
-
In separate bowl combine buttermilk, eggs, and extracts. Then add 2/3 of the egg mixture to the flour mixture. Mix on medium-speed mixing until liquids are just incorporated into the flour mixture. Scrape the sides of the bowl and then mix on medium-high speed about 45-60 seconds until the batter starts to become lighter in appearance. Add remaining liquids and mix until blended. Scrape bowl again for an additional 30 seconds.
-
Spoon batter into cupcake liners about halfway. Bake for 12-14 minutes or until a toothpick inserted in the center of the comes out clean. Allow to cool completely before decorating.
Nutrition
Calories: 180kcalCarbohydrates: 20gProtein: 4gFat: 9gSaturated Fat: 5gCholesterol: 55mgSodium: 150mgSugar: 6g
➡ Get Granulated SPLENDA® No Calorie Sweetener!