This website may contain affiliate links and advertising so that we can provide recipes to you. Read my disclosure policy.
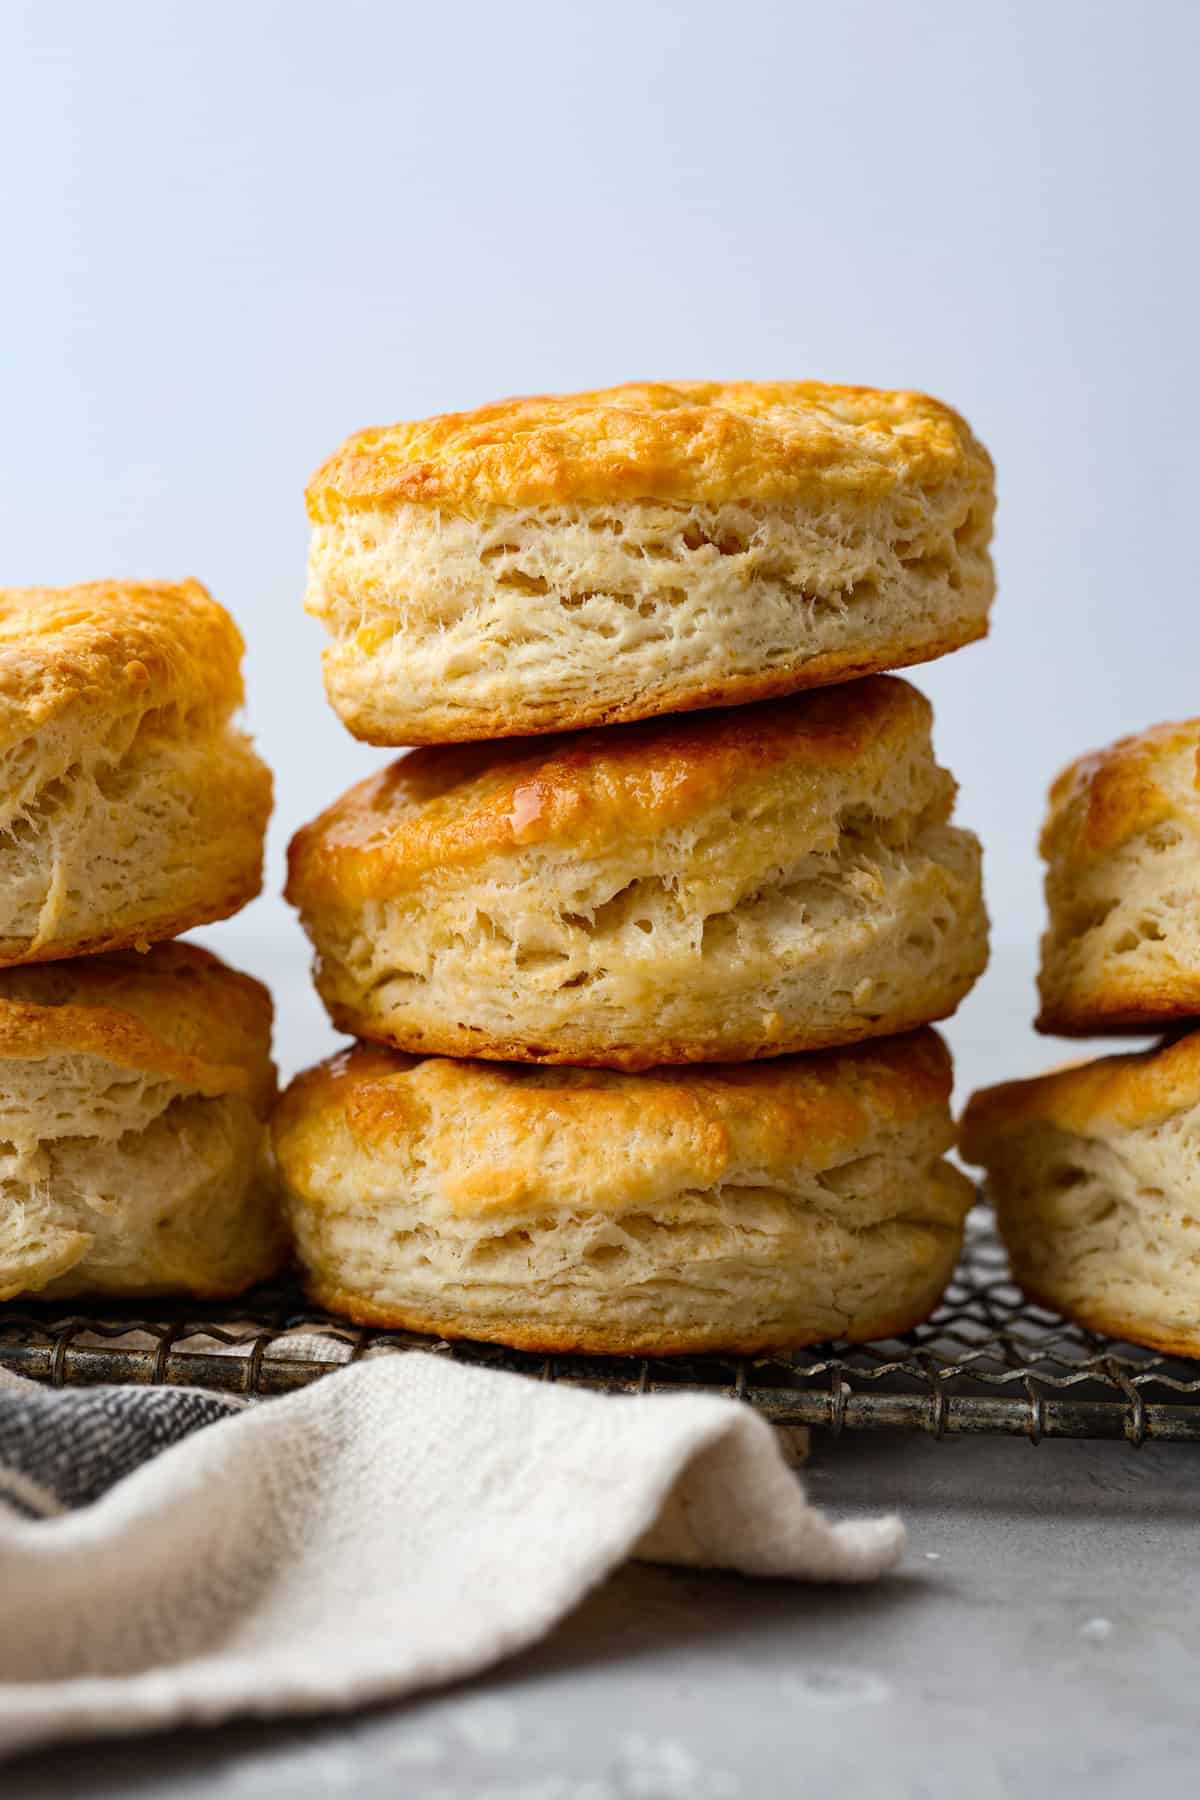
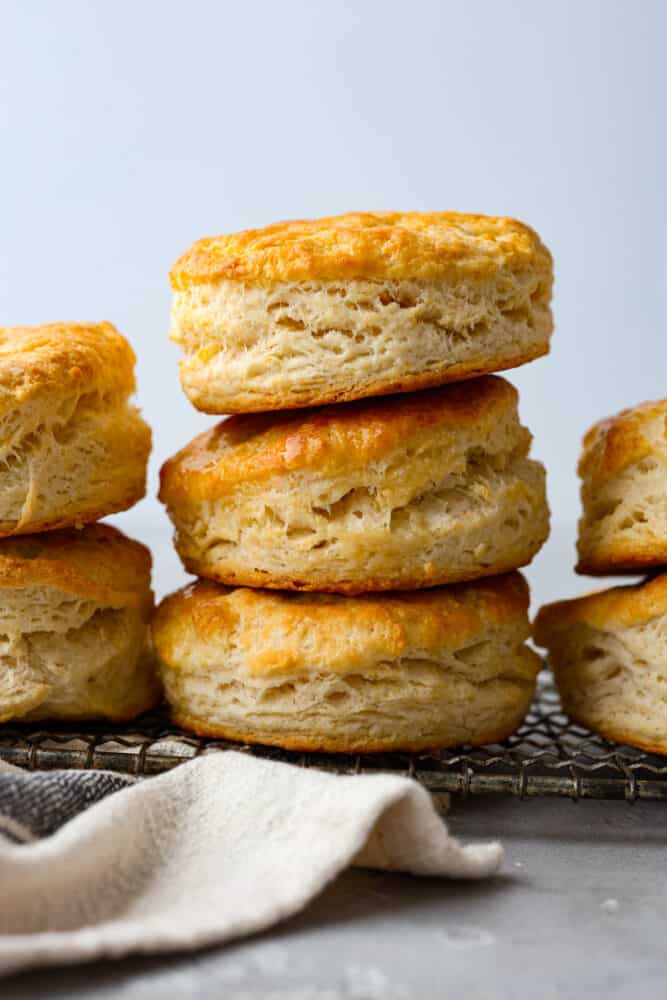
Buttery, crumbly, and golden-brown, these classic biscuits are the backbone of any dish! It’s a tried and true recipe you’ll be coming back to all the time.
Once you start making homemade rolls and biscuits, you’ll never go back! Next you’ll have to try these 1-hour rolls or 7-Up Biscuits!
Tried and True Homemade Biscuits
Why use this recipe for classic biscuits? Well, it’s simple. It’s got all the right ingredients in all the right amounts. Cold butter for fluffy layers? Check. Buttermilk for a little tang and a tender crumb? Check. A light touch with the dough? Double check!
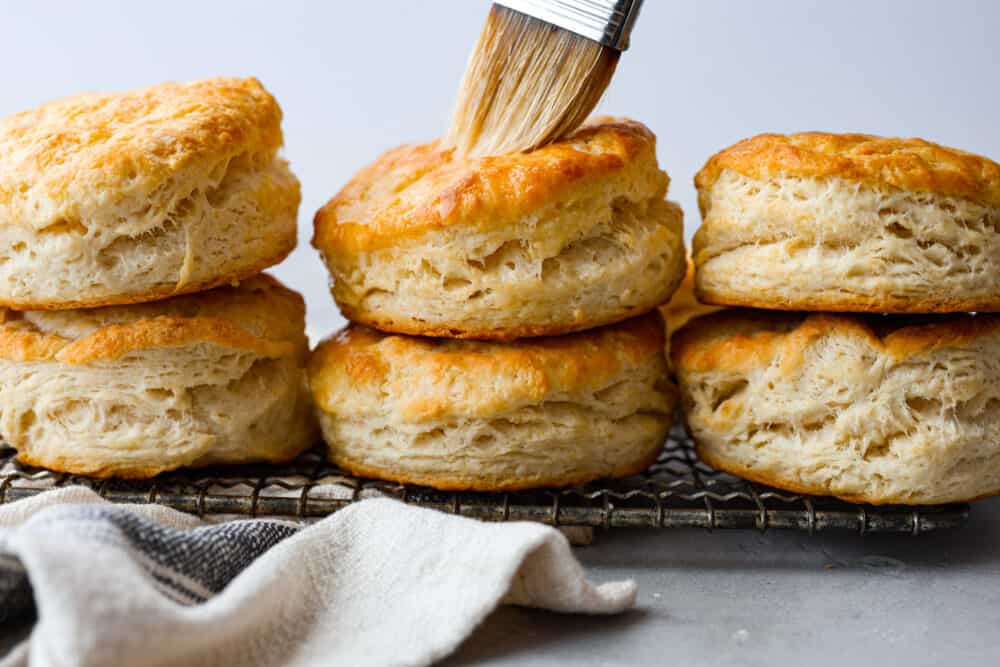
Trust me, these biscuits won’t let you down. Make a batch and they’ll be light, airy, and oh-so-buttery, with a golden brown crust that practically begs you to break it open and slather it with butter. Eat them on their own, as a side, or in biscuits and gravy! The options are endless.
Ingredients You’ll Need
This recipe for classic biscuits only uses 5 simple ingredients. You may already have everything you need! (Exact measurements are in the recipe card at the end of the post.)
- All-Purpose Flour: To give the biscuits structure.
- Baking Powder: So the dough rises properly.
- Salt: Elevates all the flavors and keeps your homemade biscuits from tasting bland.
- Unsalted Butter: Creates those delicious flaky layers. The butter needs to be chilled for this to happen.
- Buttermilk: Adds moisture, richness, and a touch of flavor to the dough.
- Melted Butter for Brushing: For the perfect golden brown finishing touch!
How to Make Classic Biscuits
These homemade biscuits are super easy to make and take just over 30 minutes from start to finish. The perfect complement to any hearty dinner!
- Preheat Oven, Prepare Baking Sheet: Preheat your oven to 425 degrees Fahrenheit and then prepare a baking sheet by lining it with parchment paper.
- Dry Ingredients: In a large bowl, whisk together the flour, baking powder, and salt.
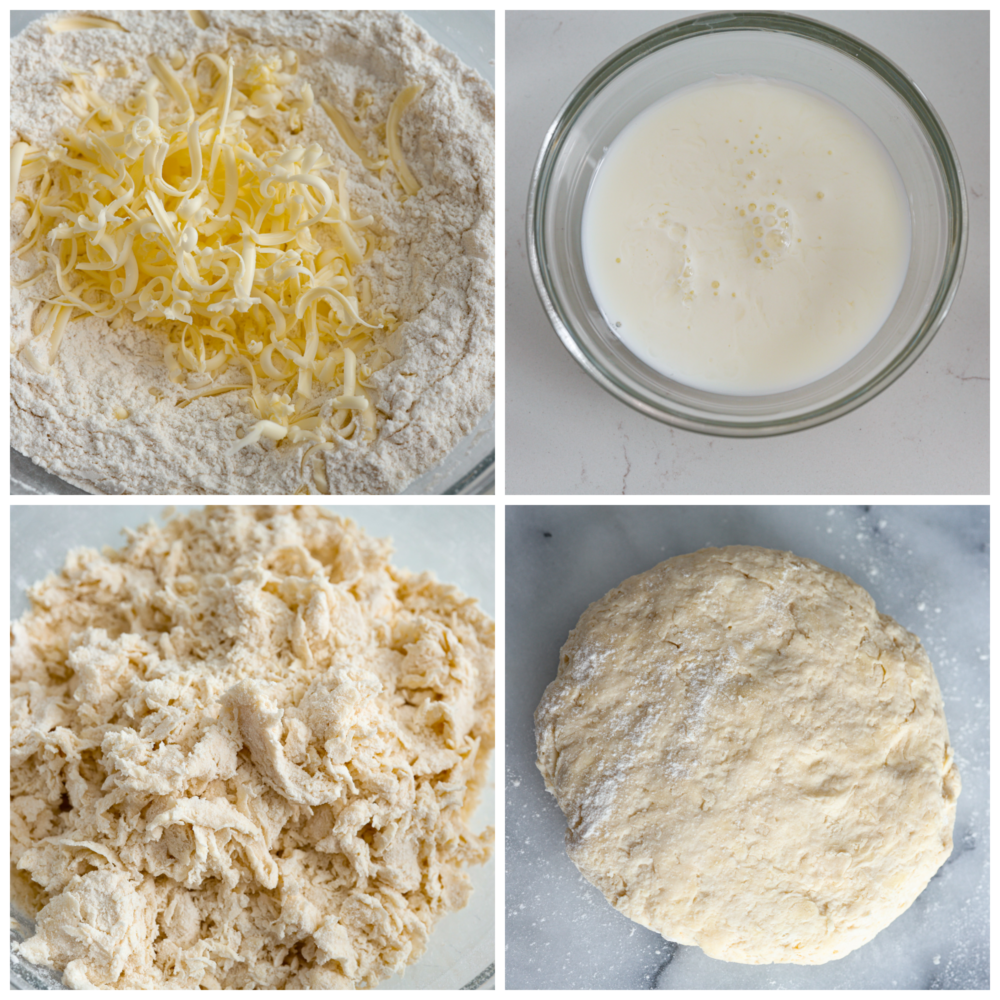
- Add Butter: Using a cheese grater, grate the cold butter into the flour mixture. Then use a pastry cutter or the back of a fork to “cut” the butter into the flour.
- Mix: Once the butter is incorporated add the buttermilk. Then use a pastry cutter or fork to mix the buttermilk into the dough. Stop mixing just before it all comes together, so the dough is shaggy and crumbly.
- Knead: Dump the dough onto a floured surface and knead the dough with your hands to bring it together. Be careful not to overwork the dough or handle it too much because you want the butter to stay as cold as possible.
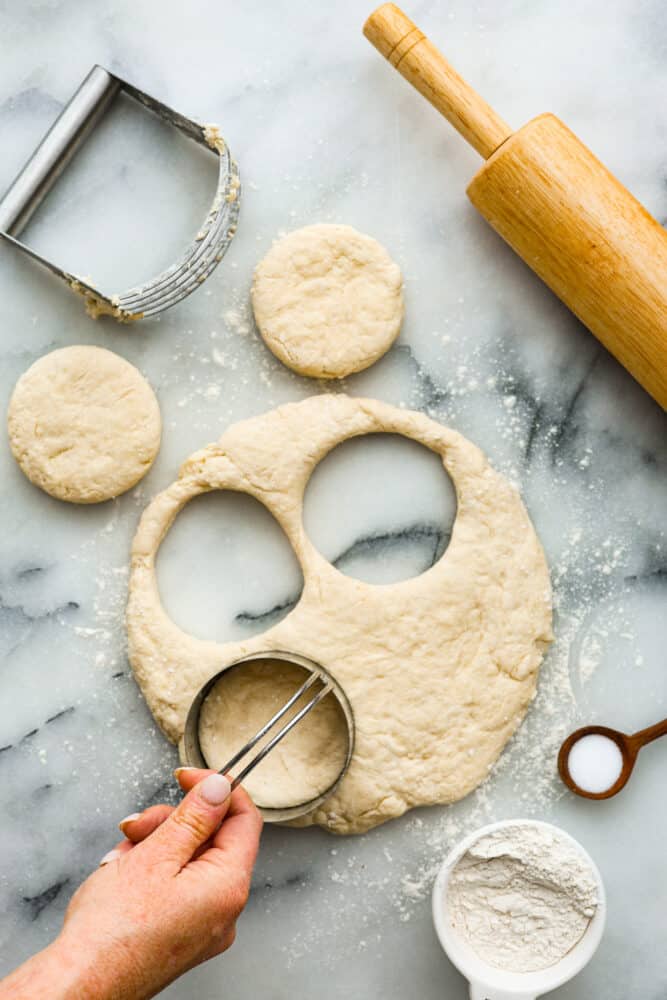
- Cut: Roll the dough out on the floured surface until 1 inch thick. Then using a 3-inch biscuit cutter or cup, cut the biscuits. Gather the dough scraps and then form them into a ball. Roll out the dough again and repeat the cutting process until all your dough is used up.
- Add to Pan: Place the biscuits onto the prepared sheet pan, spaced 1 inch apart.
- Brush With Butter: Brush melted butter on top of each biscuit.
- Bake: Bake the biscuits until lightly golden brown on top and bottom, about 15 to 20 minutes.
Tips for Success
Here are a few secrets to making homemade biscuits that’ll have everyone begging for your recipe!
- Use Cold Butter: Cold butter = flaky layers, so make sure your butter is chilled before you make your biscuits.
- Knead Gently: Don’t mess with the dough too much! The heat from your hands will soften the butter and then your biscuits won’t turn out as flaky. Cold butter is key. You only want to mix until the dough is combined and crumbly.
- Space Them Out: Make sure your biscuits have plenty of room in between them. They’ll puff up once they hit the oven.
Storing Leftover Biscuits and Dough
Now, about leftovers. These classic biscuits will stay fresh at room temp for a day, or in the fridge for up to 3 days.
Can I Freeze Leftover Dough?
Yes you can! Freeze that leftover dough in a single layer on a baking sheet, then transfer to a bag once solid. Just thaw in the fridge overnight and bake as usual when you’re ready to enjoy them again.
More Homemade Biscuit Recipes to Try
Pin this now to find it later
-
Preheat your oven to 425 degrees Fahrenheit and prepare a baking sheet by lining it with parchment paper.
-
In a large bowl, whisk together the flour, baking powder, and salt.
-
Using a cheese grater, grate the cold butter into the flour mixture. Use a pastry cutter or the back of a fork to “cut” the butter into the flour.
-
Once the butter is incorporated add the buttermilk. Use a pastry cutter or fork to mix the buttermilk into the dough. Stop mixing just before it all comes together. The dough should be shaggy and crumbly at this point.
-
Dump the dough onto a floured surface and knead the dough with your hands to bring it together. Be careful not to overwork the dough or handle it too much because you want the butter to stay as cold as possible.
-
Roll the dough out on the floured surface until 1 inch thick. Using a 3-inch biscuit cutter or cup, cut the biscuits. Gather the dough scraps and form them into a ball. Roll out the dough again and repeat the cutting process until all your dough is used up.
-
Place the biscuits onto the prepared sheet pan, spaced 1 inch apart.
-
Brush melted butter on top of each biscuit.
-
Bake the biscuits until lightly golden brown on top and bottom, about 15 to 20 minutes.
Calories: 367kcalCarbohydrates: 39gProtein: 6gFat: 21gSaturated Fat: 13gPolyunsaturated Fat: 1gMonounsaturated Fat: 5gTrans Fat: 1gCholesterol: 55mgSodium: 465mgPotassium: 413mgFiber: 1gSugar: 2gVitamin A: 655IUCalcium: 189mgIron: 2mg
Nutrition information is automatically calculated, so should only be used as an approximation.

