This website may contain affiliate links and advertising so that we can provide recipes to you. Read my privacy policy.
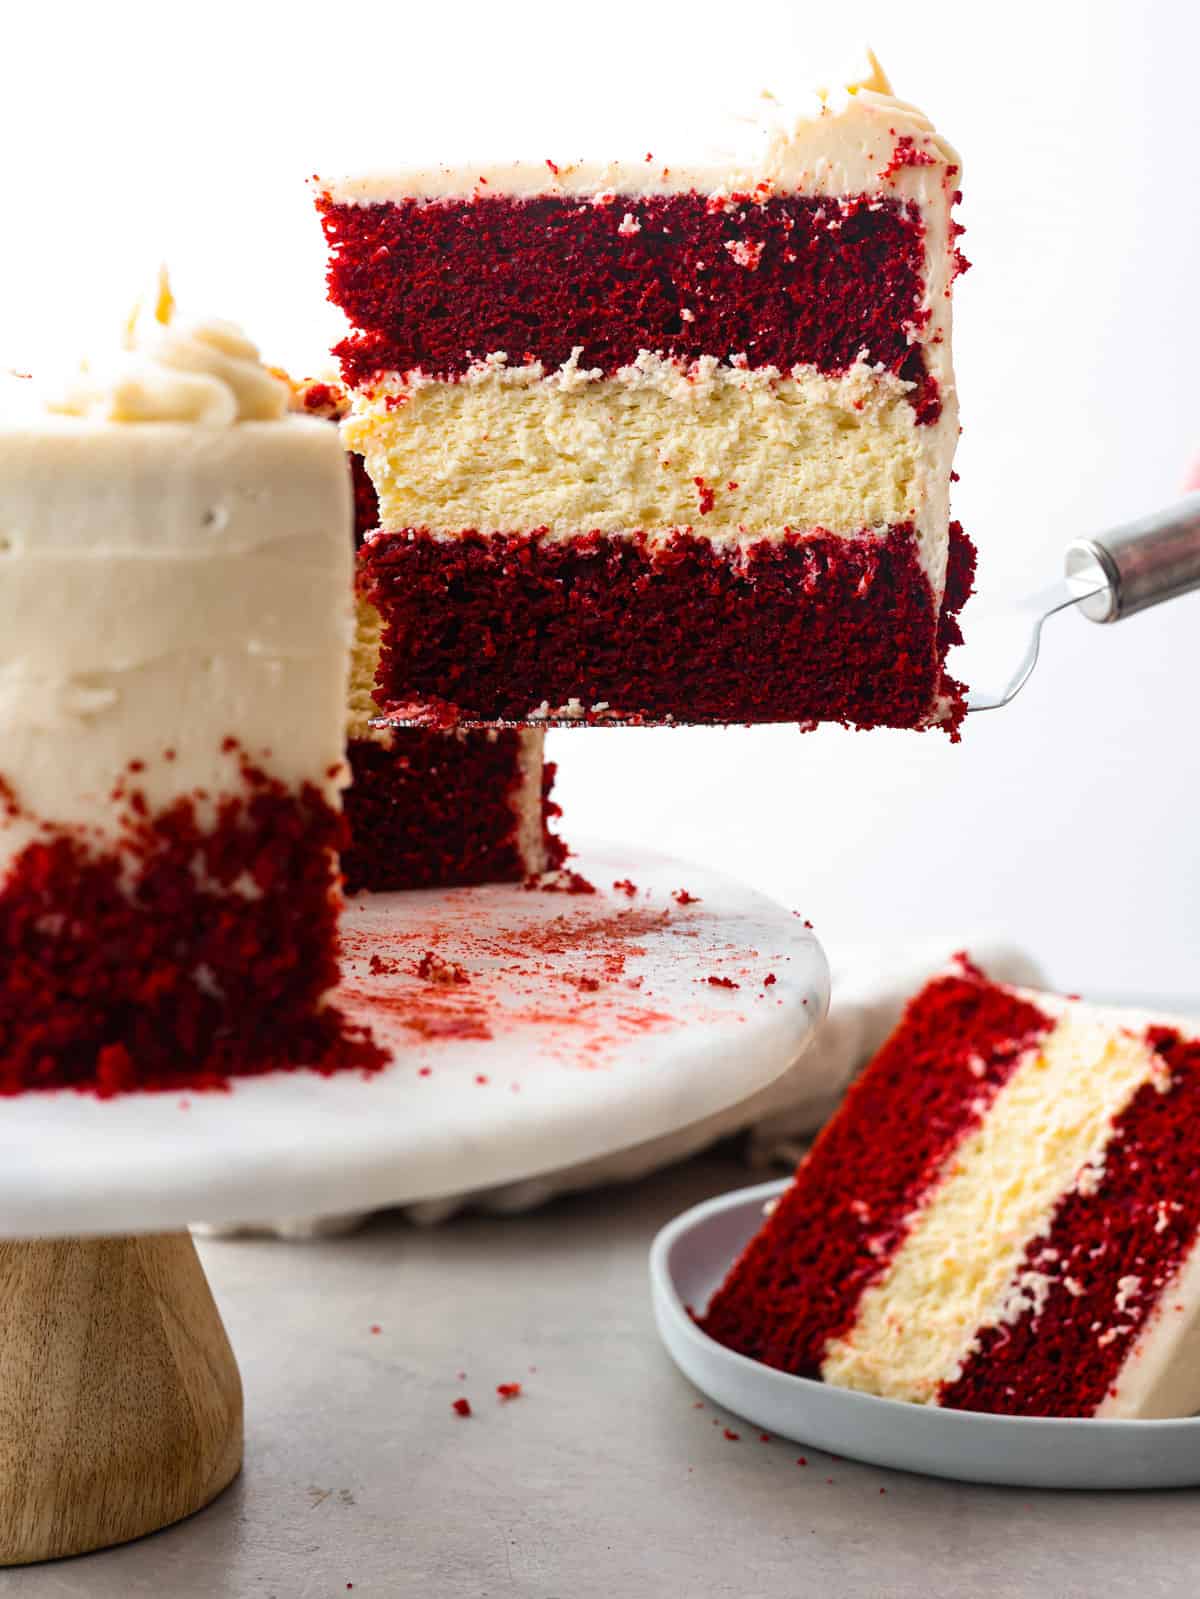
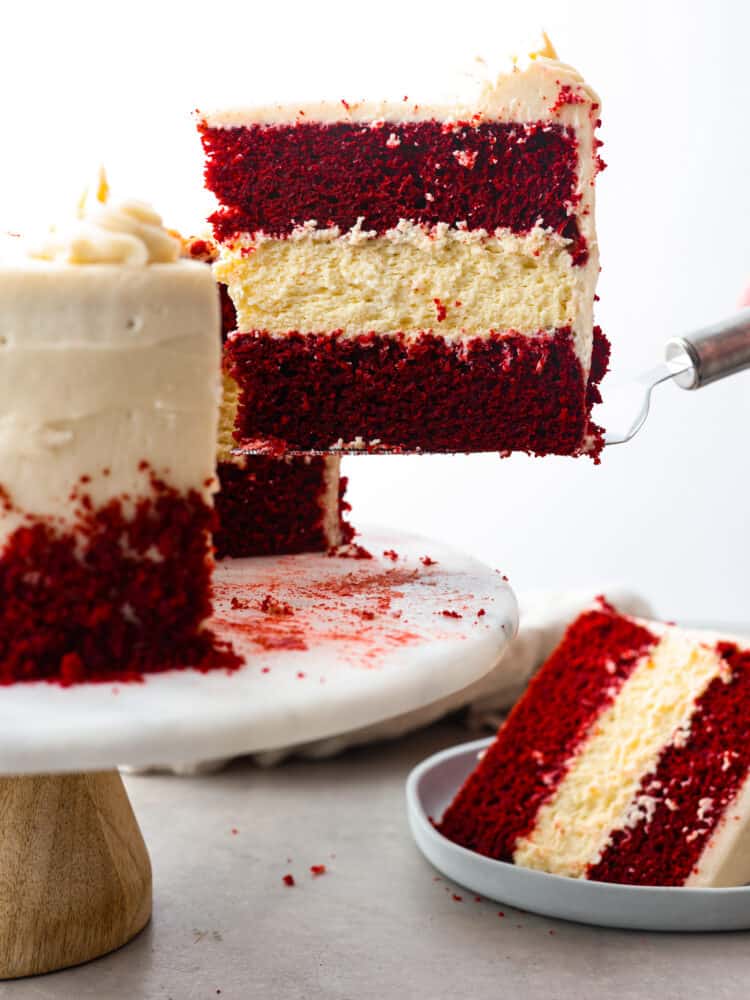
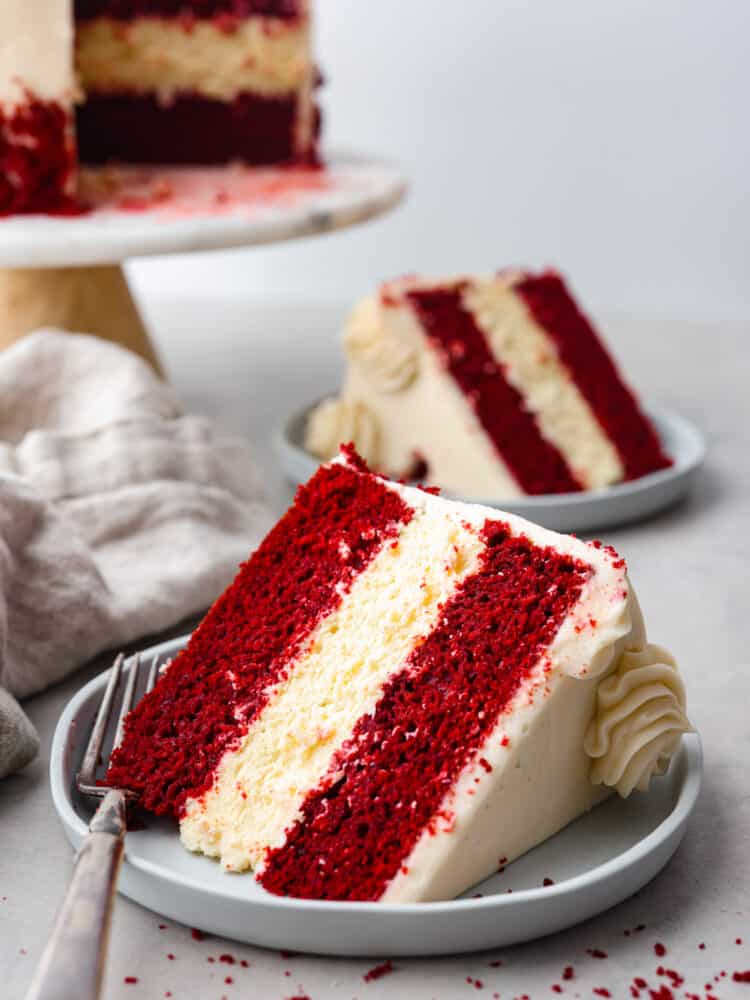
Can’t decide between red velvet cake and cheesecake? Why not both! This dreamy dessert is made with layers of moist red velvet cake and rich cheesecake topped with a luscious cream cheese frosting.
If you’ve been on the hunt for some show-stopping holiday desserts, I’ve got you covered. This red velvet cheesecake is a great one to make, as well as chantilly berry cake, cranberry Christmas cake, and gingerbread cake!
Red Velvet Cheesecake Recipe
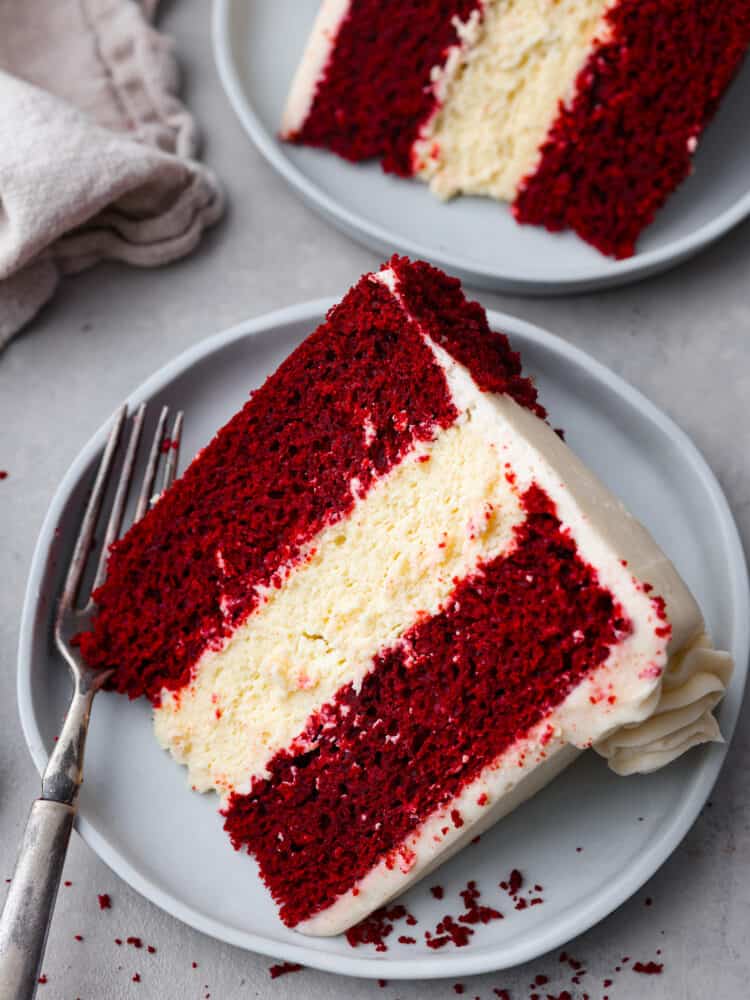
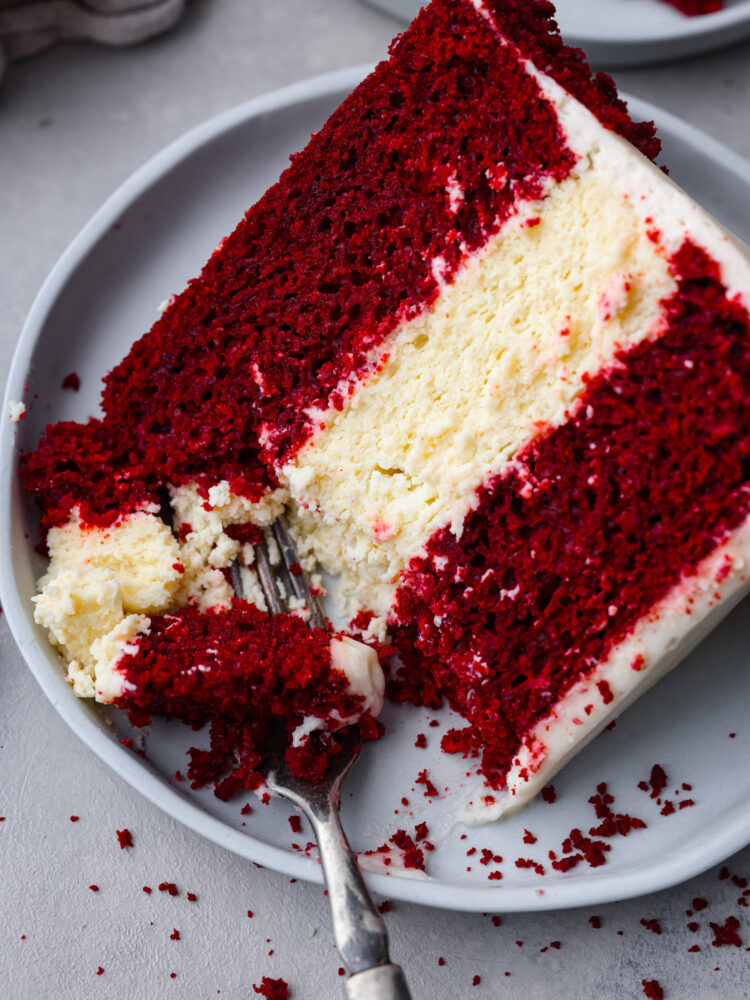
When it comes to rich, indulgent desserts, both red velvet cake and cheesecake are at the top of the list. With this recipe, you get the best of both worlds! I’m not going to lie, this is one of the BEST cakes that I’ve had in a while. Red velvet cake is amazing on its own, but when you add a layer of cheesecake in between, it becomes absolutely irresistible.
And as if it couldn’t get any better, this cake is topped with some homemade cream cheese frosting for extra decadence. You won’t be able to stop after the first bite! (I don’t blame you if you keep the whole cheesecake for yourself!) Bring this red velvet cheesecake to any holiday gathering and it’s sure to be a hit. Just make sure to grab a piece for yourself before it flies off the table!
Ingredients Needed
The best part about this red velvet cheesecake recipe is that you don’t need a ton of ingredients to make it. (I used boxed red velvet cake!) So no need for an expensive grocery trip here! You’ll have most of the ingredients to make this cheesecake ready to go in your pantry. Note: all measurements can be found below in the recipe card.
Red Velvet Cake
- Red Velvet Cake Mix: Let’s face it- the holidays can get pretty busy. For easier prep, feel free to use boxed cake mix for this recipe! Make sure you have all the necessary ingredients like oil and eggs to make it. If you’re feeling ambitious, you can also make your red velvet from scratch! Find my full recipe here. It’s worth the extra effort, I promise! There’s nothing like a moist, homemade cake.
Cheesecake
- Cream Cheese: This acts as the base of your cheesecake.
- Sour Cream: Sour cream may seem unconventional, but it helps make your cheesecake extra soft and delicious!
- Granulated Sugar: Adds sweetness to the cheesecake layer.
- Eggs: Give cheesecake its signature smooth texture.
- Vanilla: I recommend using pure vanilla extract because it makes such a difference in the overall flavor of your desserts!
Cream Cheese Frosting
- Cream Cheese: Make sure your cream cheese is at room temperature so it mixes together with the other ingredients smoothly.
- Butter: Since we want the frosting to be rich and sweet, use unsalted butter.
- Vanilla Extract: Adds extra flavor to the frosting.
- Powdered Sugar: For sweetness and a smooth texture.
How to Make Red Velvet Cheesecake
I know this list of instructions is lengthy, but trust me- making this red velvet cheesecake is actually really easy. I’ve broken the steps up into different sections to help simplify the process. Your guests will be so impressed; little do they know it took minimal effort to whip up! This is the perfect holiday dessert. Not only does it look amazing on any dinner table, but it tastes even better! Be sure to save a piece or two for yourself!
Red Velvet Layer
- Prepare Cake: Follow instructions on the box, or use our recipe to make it from scratch! You need to be able to get two 8-inch circles cut out, or whatever size will match your cheesecake.
Cheesecake Layer
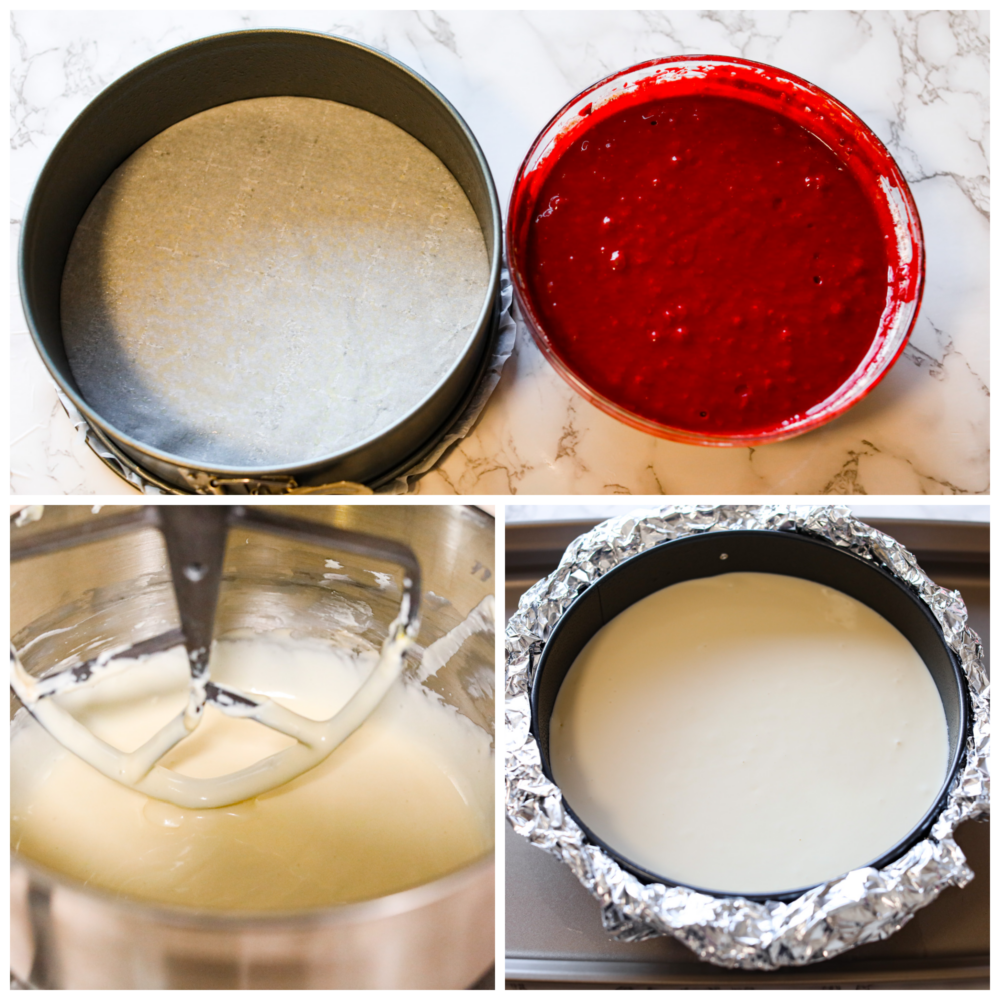
- Preheat Oven, Prepare Pan: Preheat your oven to 325℉ and prepare your springform pan by spraying with cooking spray, placing a parchment round on the bottom then spraying the top of the parchment with cooking spray. Using 18-inch heavy duty aluminum foil, wrap the outside of your springform pan with 4 sheets of foil. You can use regular foil, but it may take a couple more sheets to ensure the water does not get into your pan.
- Add to Roasting Pan: Place your wrapped pan in a deep roasting pan. You can alternatively use a baking sheet, so long as the sides are about 2 inches deep.
- Beat Cream Cheese: Add your softened cream cheese to the mixing bowl of your stand mixer and beat with a paddle at medium/high speed for about 1 minute. Scrape down the sides and bottom of the bowl and beat for a few seconds more.
- Add Sugar and Sour Cream: Next add sugar and sour cream and mix at medium/low speed until just combined. Scrape the bowl again and mix for 10 seconds.
- Mix in Eggs: Add eggs and beat on low speed until combined, about 30 seconds-1 minute. Scrape the bowl again.
- Add in Vanilla: Add vanilla and beat until just combined. At this point your batter should be smooth and fairly runny
- Transfer to Springform Pan: Add your cheesecake batter to the prepared springform pan.
- Prepare Water Bath: Using very hot water, add water to the baking sheet/ until there is about 1 ½ inch of water around the springform pan. On a rack in the lower 3rd of the oven, carefully move your pan into the oven.
- Bake: Bake for 1-1 ½ hours. After about an hour of baking, check the cheesecake’s consistency. A slight jiggle of the pan (while still in the oven) should tell you if it’s ready or needs more time. The cheesecake should be jiggly, but not liquid. If it seems very liquidy still, give it 15 more minutes and check it again.
- Cool in the Oven: Once the cheesecake is firm, yet jiggly, turn the oven off but leave the cheesecake in the oven for another hour or so, until the oven has cooled down. Resist the temptation to open the oven during this time! The purpose of this step is to allow the cheesecake to cool slowly as the oven cools. Doing this will prevent it from cracking, as one of the biggest reasons cheesecakes crack is the drastic temperature change going from the hot oven into the much cooler kitchen.
- Remove From Pan: Once the oven and the cheesecake are cooled, remove from the oven and carefully remove the foil lining the pan.
- Chill: Chill in the fridge for at least 6 hours.
Making the Cream Cheese Frosting
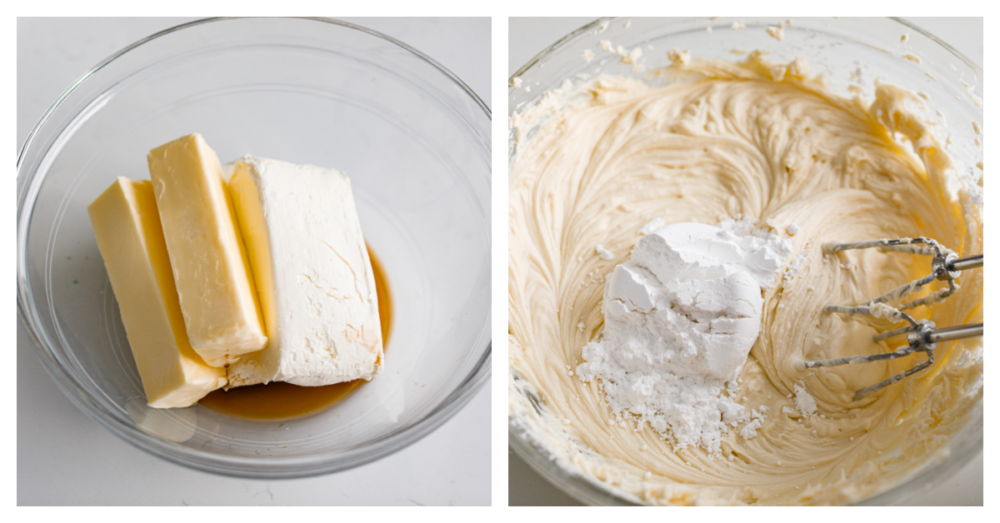
- Mix Ingredients: In a large bowl with a hand mixer on high speed, cream together your cream cheese, butter, and vanilla.
- Add in Powdered Sugar: Reduce speed to low and add your powdered sugar in, ¼ cup at a time until it has all incorporated.
Assembling the Cake
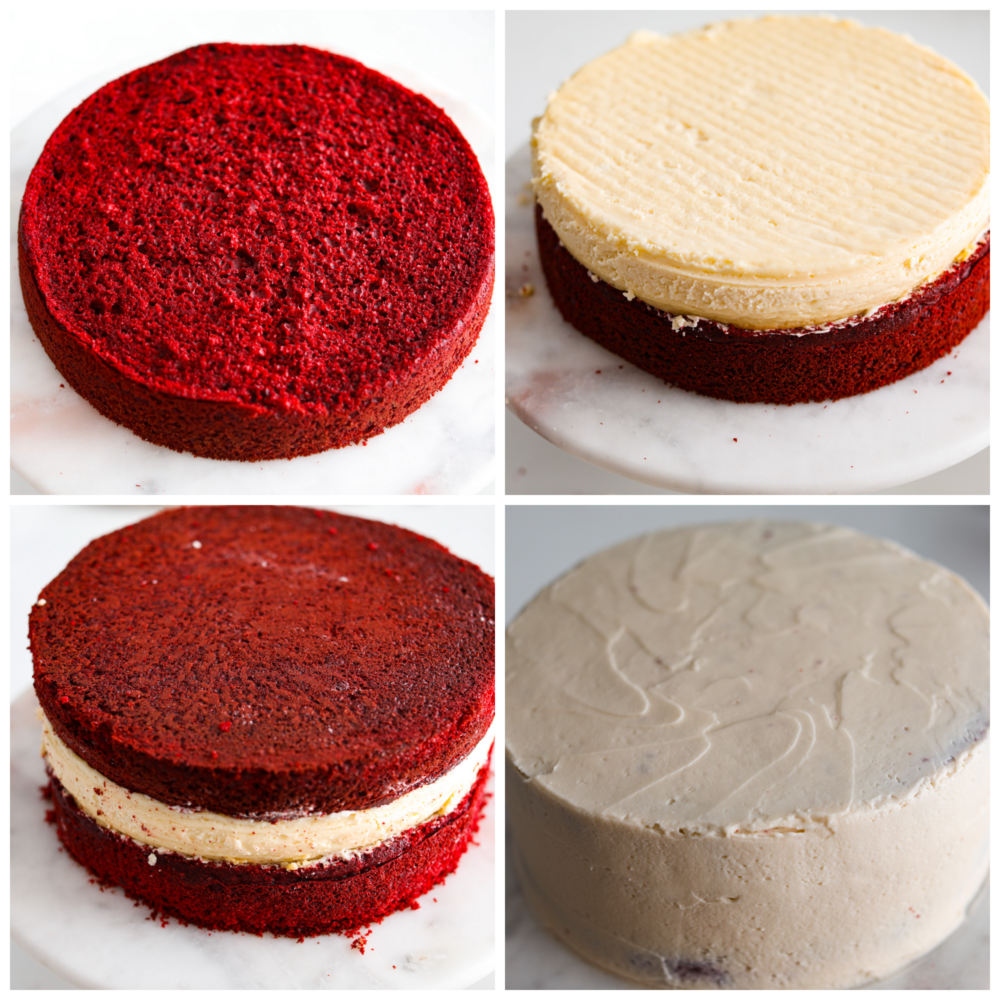
- Add Frosting: To assemble the red velvet cheesecake, on a cake platter place a spoonful of frosting and spread slightly, this is to help keep your cake in place.
- Add Cake Layers: Place our first layer of red velvet down, followed by your cheesecake layer, pressing firmly down. Finally add your last layer of red velvet on top and press down lightly to secure. Don’t smash your cake down, just press to secure it.
- Frost: Using an offset spatula, frost the cake, you can decorate it any way you would like!
- Chill: This red velvet cheesecake is best served chilled, and must be stored in an airtight container in the fridge.
Tips and Tricks
Here are a few extra ways to make sure your red velvet cheesecake turns out perfectly! This gorgeous (and delicious) cake is the perfect choice for the holidays. Everyone will love it!
- Use Room Temperature Cream Cheese: Leaving the cream cheese and butter on the counter overnight makes it nice and soft. It also makes it easier to mix into a smooth batter.
- Scrape the Bowl: Scraping the bowl several times ensures the batter is smooth and all the ingredients are fully incorporated.
- Let Cake Layers Cool: Be sure to assemble the cake after each cake layer has cooled to room temperature, it will hold up better that way.
- Use Chocolate Frosting: For all of my chocoholics out there, feel free to swap out the regular cream cheese frosting for chocolate cream cheese frosting instead! It gives this red velvet cheesecake some extra indulgence.
How Long Does Red Velvet Cheesecake Last?
My family always devours this red velvet cheesecake, so leftovers are a rarity. If you’re lucky enough to have some left over, here’s how to keep it tasting fresh and delicious!
- In the Refrigerator: Store leftover cheesecake either wrapped in plastic wrap or in an airtight cake container. It will stay good for 3-4 days.
Red Velvet Layer
-
Follow instructions on the box, or use our recipe to make it from scratch! You need to be able to get two 8” circles cut out, or whatever size will match your cheesecake
Cheesecake Layer
-
Preheat your oven to 325℉ and prepare your springform pan by spraying with cooking spray, placing a parchment round on the bottom then spraying the top of the parchment with cooking spray. Using 18 inch heavy duty aluminum foil, wrap the outside of your springform pan with 4 sheets of foil. You can use regular foil, but it may take a couple more sheets to ensure the water does not get into your pan.
-
Place your wrapped pan in a deep roasting pan. You can alternatively use a baking sheet, so long as the sides are about 2 inches deep.
-
Add your softened cream cheese to the mixing bowl of your stand mixer and beat with a paddle at medium/high speed for about 1 minute. Scrape down the sides and bottom of the bowl and beat for a few seconds more.
-
Add sugar and sour cream and mix at medium/low speed until just combined. Scrape the bowl again and mix for 10 seconds.
-
Add eggs and beat on low speed until combined, about 30 seconds-1 minute. Scrape the bowl again.
-
Add vanilla and beat until just combined. At this point your batter should be smooth and fairly runny
-
Add your cheesecake batter to the prepared springform pan.
-
Using very hot water, add water to the baking sheet/ until there is about 1 ½ inch of water around the springform pan. On a rack in the lower 3rd of the oven, carefully move your pan into the oven.
-
Bake for 1-1 ½ hours. After about an hour of baking, check the cheesecake’s consistency. A slight jiggle of the pan (while still in the oven) should tell you if it’s ready or needs more time. The cheesecake should be jiggly, but not liquid. If it seems very liquidy still, give it 15 more minutes and check it again.
-
Once the cheesecake is firm, yet jiggly, turn the oven off but leave the cheesecake in the oven for another hour or so, until the oven has cooled down. Resist the temptation to open the oven during this time! The purpose of this step is to allow the cheesecake to cool slowly as the oven cools. Doing this will prevent it from cracking, as one of the biggest reasons cheesecakes crack is the drastic temperature change going from the hot oven into the much cooler kitchen.
-
Once the oven and the cheesecake are cooled, remove from the oven and carefully remove the foil lining the pan.
-
Chill in the fridge for at least 6 hours.
Cream Cheese Frosting
-
In a large bowl with a hand mixer on high speed, cream together your cream cheese, butter, and vanilla.
-
Reduce speed to low and add your powdered sugar in, ¼ cup at a time until it has all incorporated.
-
Assemble your cake
-
To assemble the cake, on a cake platter place a spoonful of frosting and spread slightly, this is to help keep your cake in place.
-
Place our first layer of red velvet down, followed by your cheesecake layer, pressing firmly down. Finally add your last layer of red velvet on top and press down lightly to secure. Don’t smash your cake down, just press to secure it.
-
Using an offset spatula, frost the cake, you can decorate it anyway you would like!
-
This cake is best served chilled, and must be stored in an airtight container in the fridge.
Serves: 12
Calories855kcal (43%)Carbohydrates85g (28%)Protein11g (22%)Fat56g (86%)Saturated Fat29g (145%)Polyunsaturated Fat6gMonounsaturated Fat16gTrans Fat1gCholesterol164mg (55%)Sodium853mg (36%)Potassium372mg (11%)Fiber2g (8%)Sugar58g (64%)Vitamin A1609IU (32%)Vitamin C0.1mgCalcium202mg (20%)Iron4mg (22%)
All nutritional information is based on third party calculations and is only an estimate. Each recipe and nutritional value will vary depending on the brands you use, measuring methods and portion sizes per household.


